
Why Cleaning Comes Before Fault Finding
When an electric motor comes in for inspection, cleaning is often the first practical step. Dust, oil mist, carbon, fibre fluff and metal fines can hide the real problem. A motor that looks tired from the outside may only need a proper clean before testing, while another may show signs of overheating once the grime is removed.
On many sites in Gauteng, especially where machining, food handling or pumping equipment runs for long shifts, motors collect a mix of dry and sticky contamination. If that build-up is not removed carefully, readings from insulation tests and visual checks can be misleading. A clean motor gives a better view of the terminal box, end shields, fan cover, frame and cable entries.
Cleaning should always be done by qualified people, with lockout procedures in place before any covers are opened or work begins. That means isolating the supply, proving dead, and making sure no one can restart the equipment while it is being handled. It sounds basic, but it is where many avoidable incidents start.
Dry Cleaning Methods For Dusty Industrial Motors
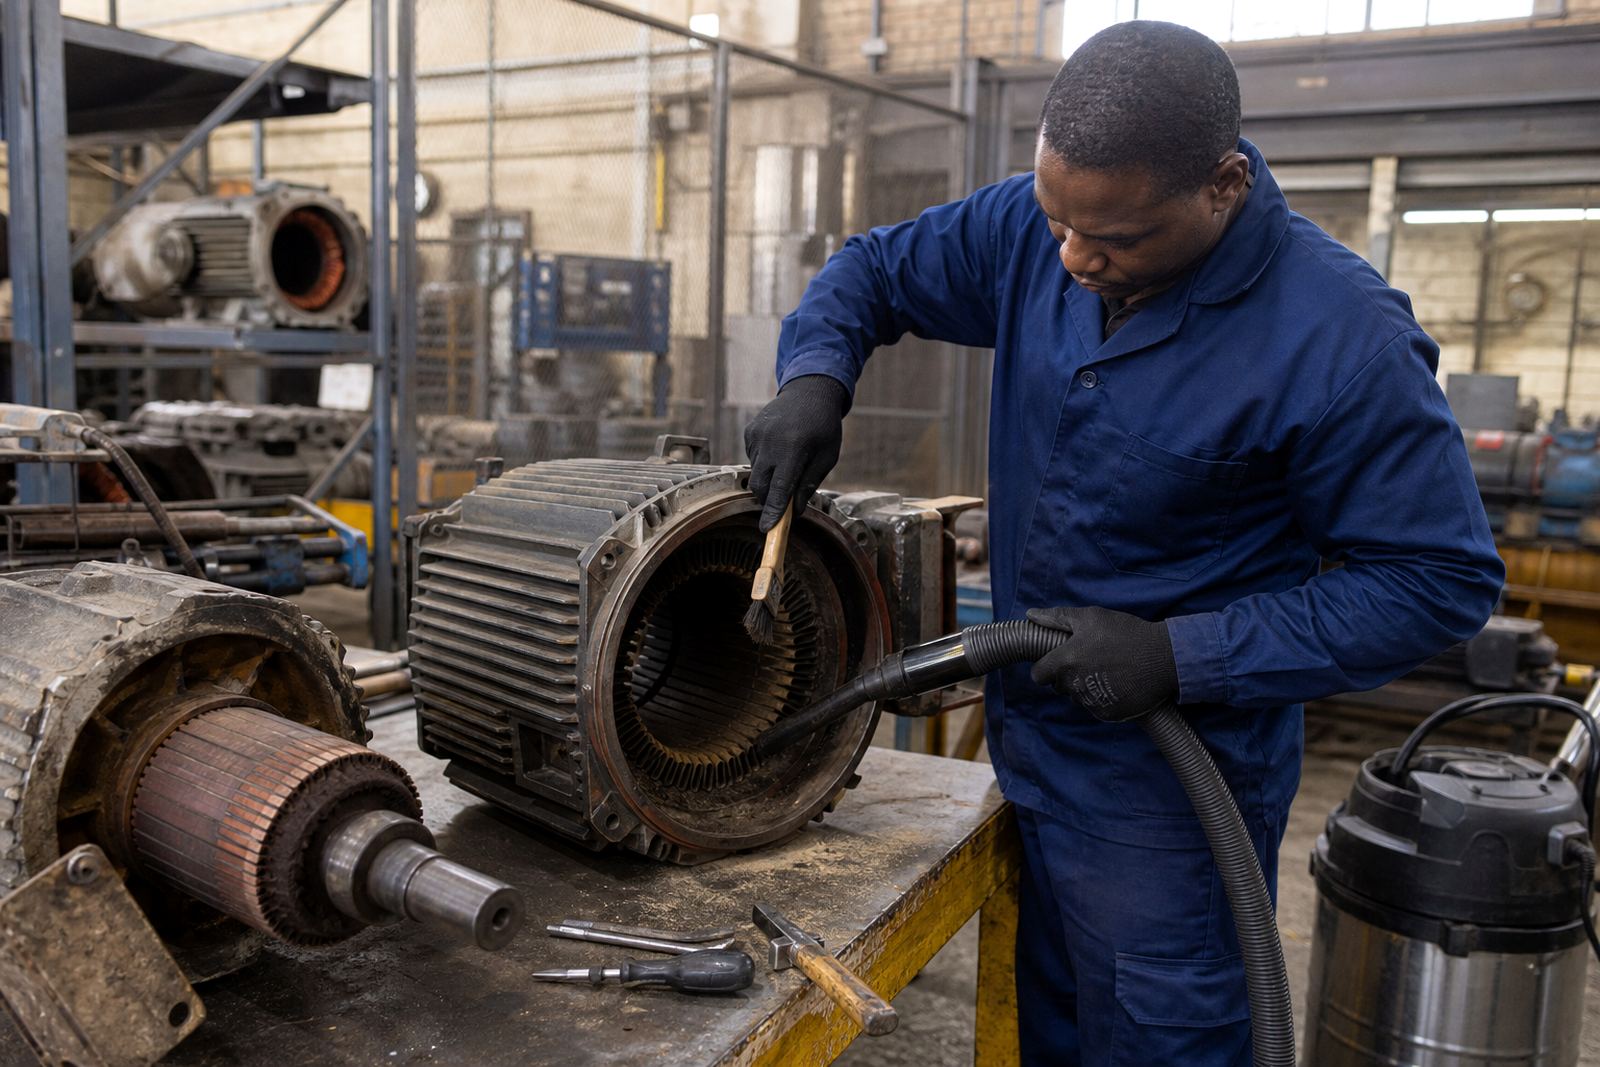
Dry cleaning is usually the first choice where the contamination is loose and the motor has not taken in oil or moisture. The aim is to remove debris without pushing it into the winding slots, bearings or cable glands. In workshops around Germiston, Johannesburg and Ekurhuleni, this often means using soft brushes, controlled vacuuming and careful wiping rather than aggressive scrubbing.
Compressed air can be useful, but only when it is used with care. Blasting a motor with high pressure air can drive grit into the insulation or force dust deeper into the bearings. It can also spread conductive particles around the work area. A better method is to loosen material first, then vacuum it away while keeping the nozzle at a safe distance.
- Use a soft bristle brush to lift dry dust from fins, covers and housings
- Vacuum loose debris instead of blowing it into hidden spaces
- Open the terminal box only after isolating and proving the supply is off
- Check for vermin nests, fibre build-up and blocked cooling passages
Dry cleaning works well on motors used in warehouses, conveyors and general workshop plant. It is often enough to prepare the unit for bearing checks, insulation testing and alignment checks.
Wet Cleaning Where Oil Or Sticky Residue Is Present
When a motor has picked up oil mist, cutting fluid or sticky grime, dry cleaning alone is not enough. In those cases, a controlled wet clean may be needed. The point is not to soak the motor, but to remove the film that traps dirt and blocks cooling. If done badly, wet cleaning can damage insulation or leave moisture in places where it should not be.
Different contaminants call for different methods. A light oily film may respond to approved cleaning fluid applied with cloths or lint free wipes. Heavier deposits may need a more thorough external wash, followed by drying in a controlled way. Openings, terminals and bearings need special attention, because moisture in those areas can lead to corrosion or tracking later on.
In coastal conditions like Durban, moisture control matters even more. Salt in the air can sit on frames and housings, then attract more dirt. After cleaning, the motor should be dried fully and checked again before commissioning support begins. If the unit is going back into service quickly, this stage cannot be rushed.
- Use lint free cloths to avoid leaving fibres inside the motor
- Avoid soaking terminals, seals and bearing areas
- Dry all surfaces completely before any electrical testing
- Inspect for corrosion, rust stains and water marks after cleaning
Cleaning For Inspection, Rewinding And Bearing Work
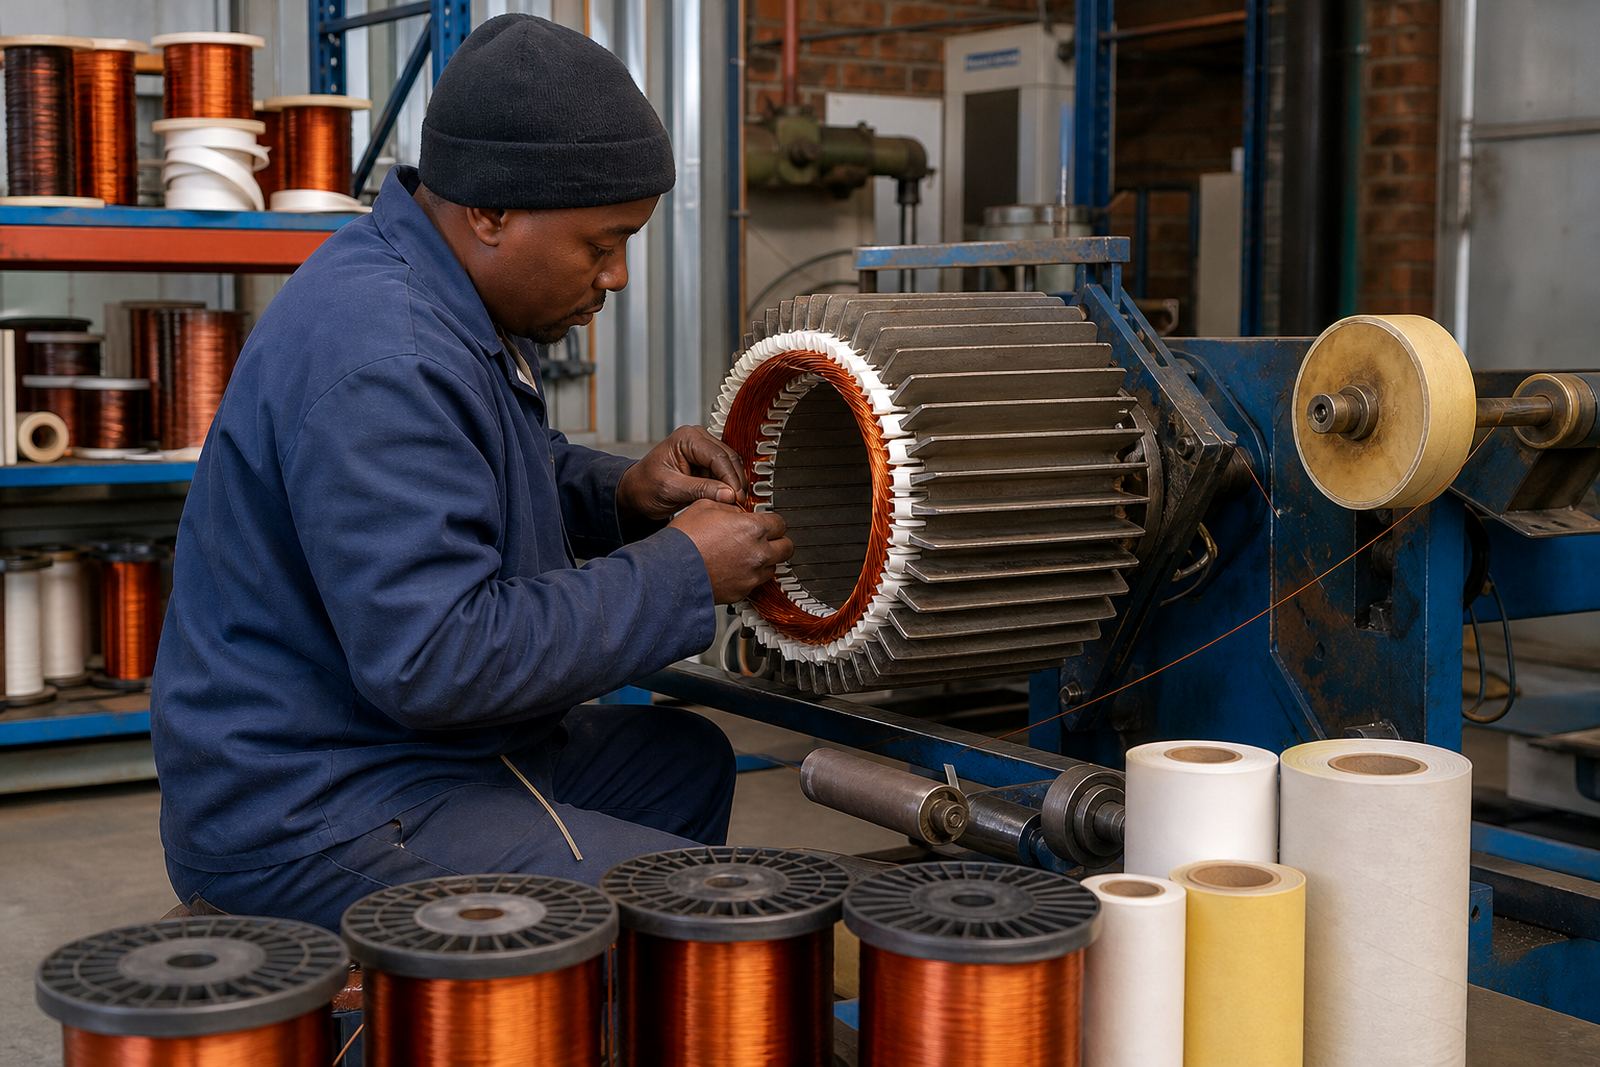
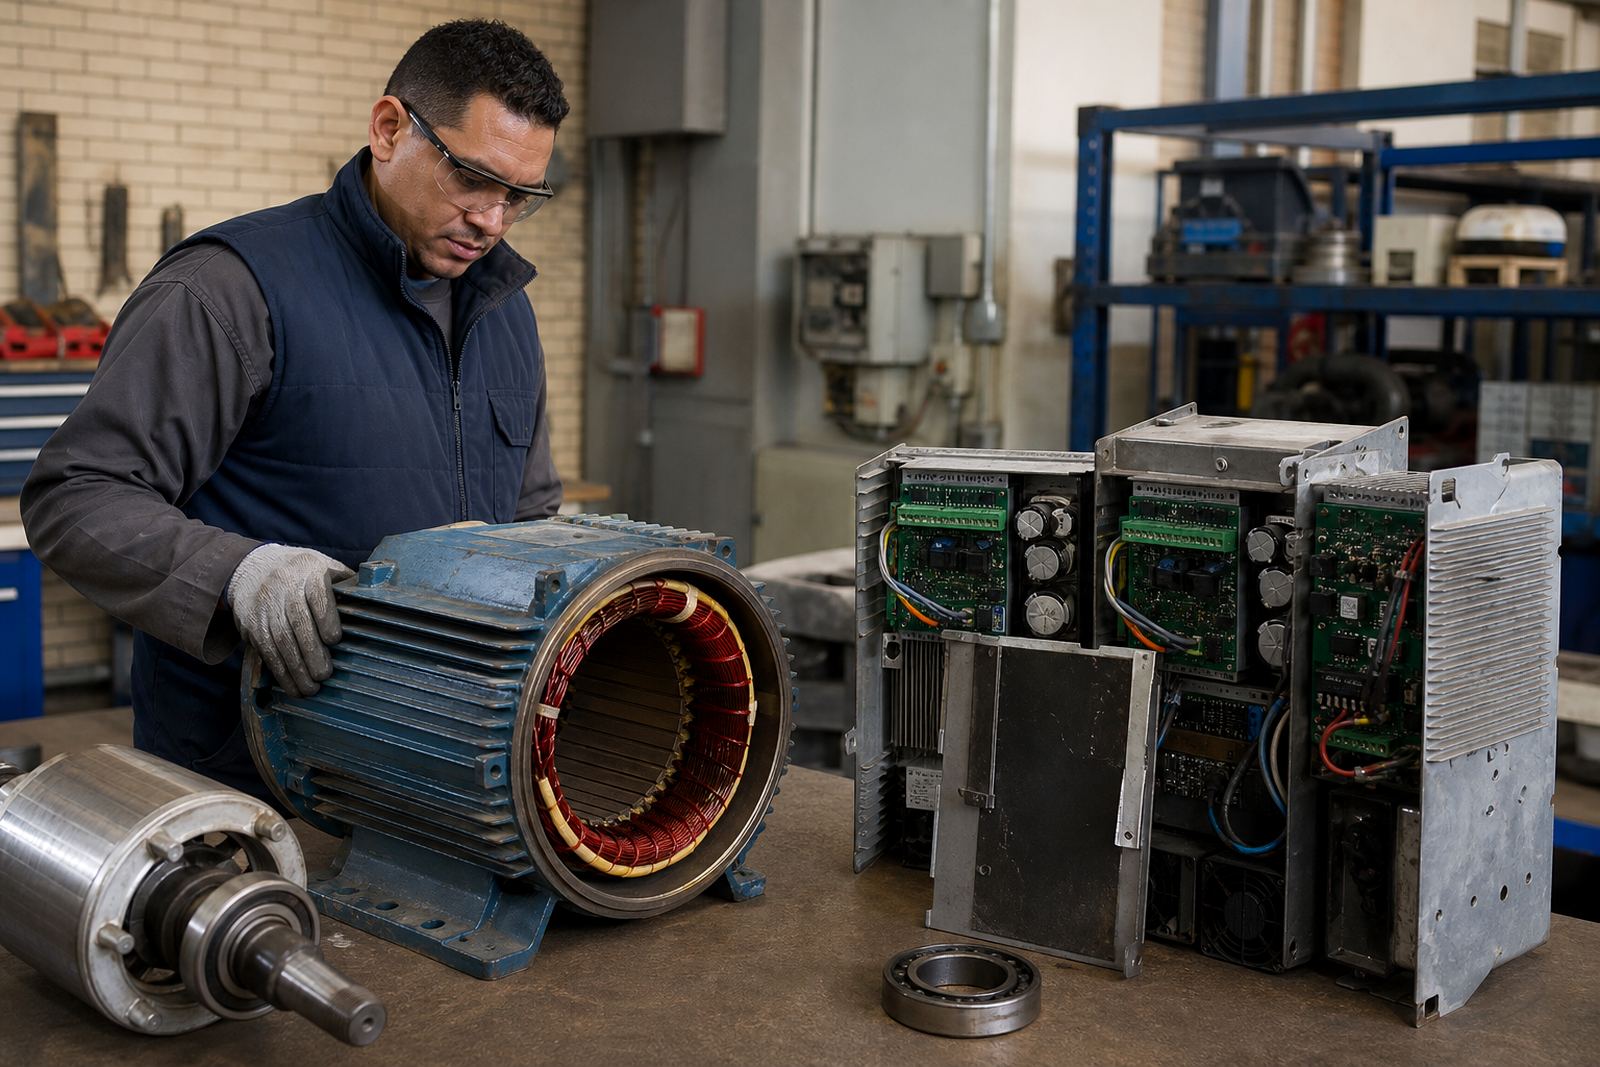
A motor that is being assessed for rewinding needs to be cleaned with more care than a unit going back into general service. Once the outer dirt is removed, the technician can inspect the winding condition, check for burnt varnish, loose lacing, cracked insulation and signs of overheating. Clean surfaces also help when site reporting is needed, because faults are easier to describe clearly.
Where bearing replacement is planned, cleaning around the end shields and shaft ends is important. Grease that has broken down can carry abrasive particles, and that contamination may show up once the bearing is removed. If the housing is cleaned properly first, it is easier to spot fretting, pitting and evidence of misalignment. That saves time later and it also helps with spares assessment.
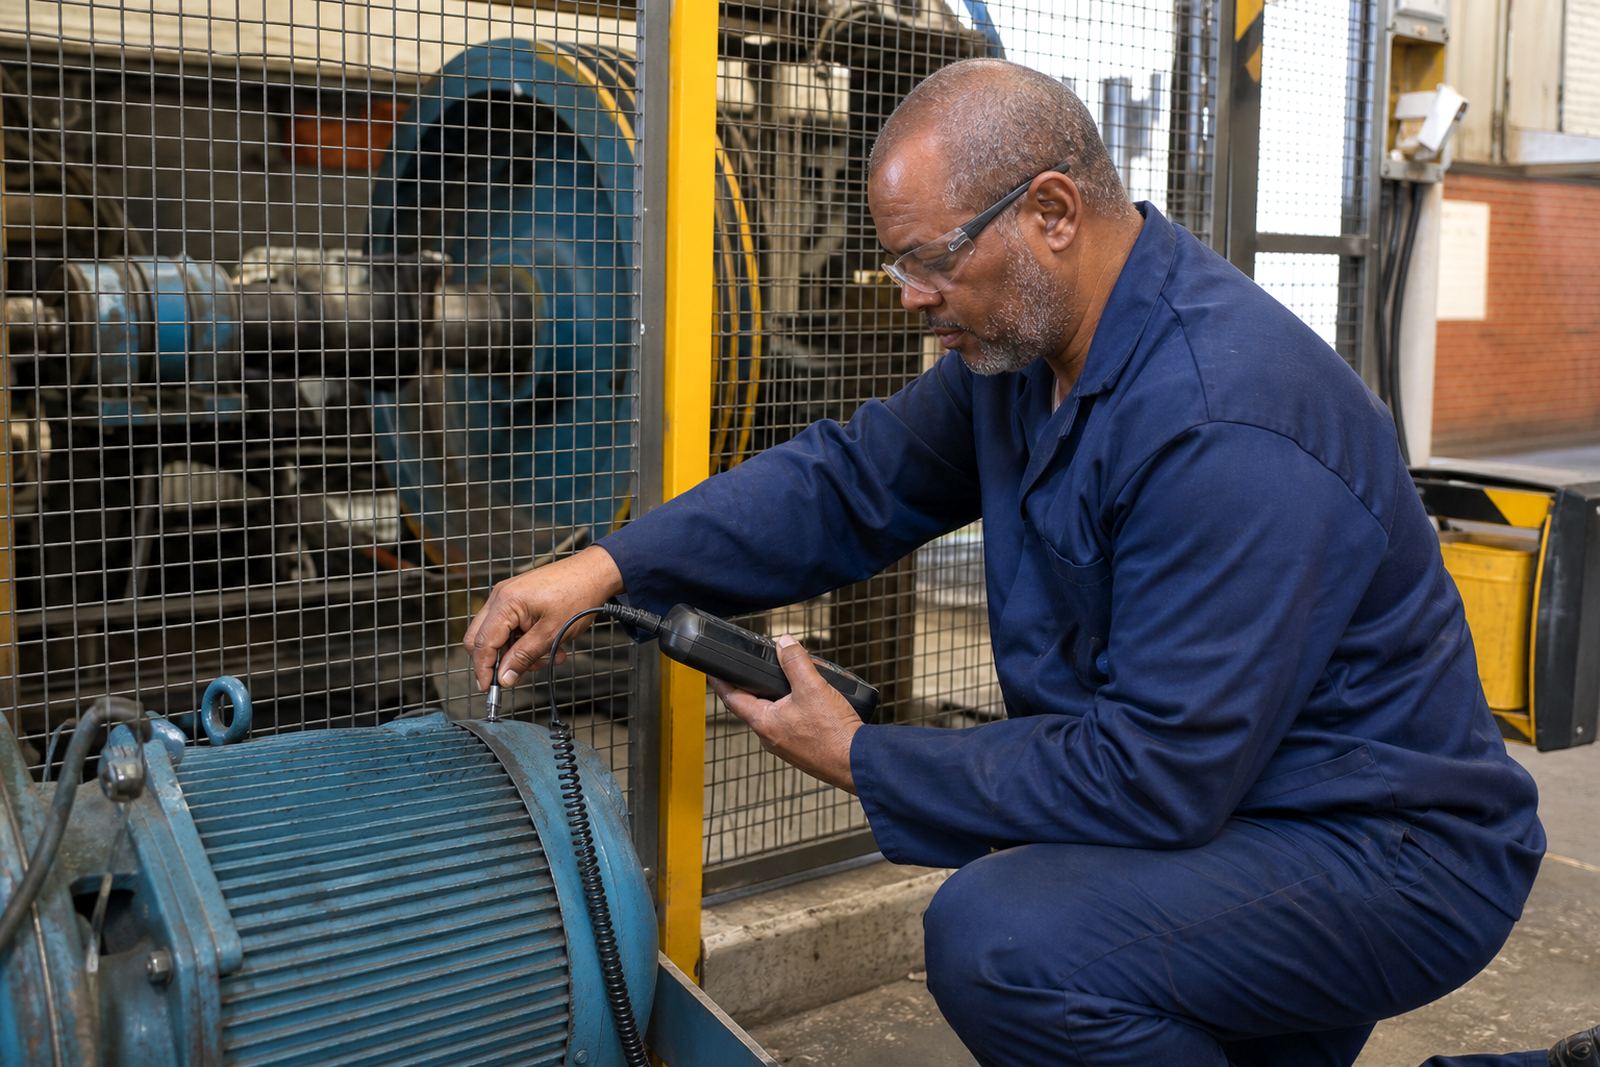
Good cleaning supports the rest of the job, but it does not replace testing. Insulation resistance checks, continuity tests and a proper visual inspection still need to be done after cleaning. Sometimes the clean-up reveals that the problem is bigger than first thought, which is why the sequence matters.
- Remove dirt before opening the motor for detailed inspection
- Clean the bearing area so wear marks are easier to read
- Use the clean-up stage to confirm whether rewinding is likely
- Keep parts labelled and stored neatly during strip down
What To Avoid During Motor Cleaning
Some cleaning habits cause more damage than the dirt itself. Overzealous use of pressure washers, solvents that attack varnish, and metal tools used to scrape off buildup can all shorten motor life. It is also a mistake to clean without a proper lockout, because even a small machine can start unexpectedly if a circuit is not isolated correctly.
Another common error is assuming that a motor needs to look spotless. In practice, the goal is clean enough for safe inspection and repair, not a showroom finish. If a technician removes too much material from labels, paint marks or gasket surfaces, that can make reassembly harder. The same applies to cable cores and terminal markings, which must stay readable for reinstallation and commissioning.
On busy sites in Pretoria or Vereeniging, time pressure can tempt people to skip the drying stage. That is risky. Residual moisture can interfere with insulation testing and can lead to nuisance trips once the motor is back under load. A careful clean takes longer, but it usually prevents repeat breakdowns later on.
A Germiston Example From The Workshop Floor
A local plant in Germiston brought in a motor that had been running in a dusty area near conveyors and packing equipment. At first glance, the frame looked heavily worn. After safe isolation and strip down, the team found that much of the damage was external buildup mixed with fine metallic dust. Once the unit was cleaned properly, the winding condition was clearer and the bearing noise made more sense.
The same job also showed why method matters. A rushed clean could have pushed grit into the end windings and hidden the real fault. Instead, the team used dry cleaning first, then targeted wiping in the oily areas, followed by inspection and testing. The result was a cleaner diagnosis and a better repair plan, without unnecessary parts being fitted.
For workshops and plants across Johannesburg, Ekurhuleni, Boksburg, Kempton Park, Pretoria, Vereeniging and Durban, that is the practical value of proper motor cleaning. It prepares the unit for the next step, whether that is rewinding, bearing work, drive repair or a full return to service.
How Locor Approaches Cleaning Before Repair
At Locor, motor cleaning is treated as part of the repair process, not a separate extra. The team looks at the type of contamination, the motor size, the site conditions and the work that follows. Fault finding, motor removal, drive inspection and site reporting all become easier when the unit is cleaned in a controlled way and handled by qualified people.
That approach is important in South African conditions where load-shedding, dust, humidity and long operating hours all put extra strain on equipment. A clean motor is easier to test, easier to assess, and easier to put back into service with confidence. It also reduces the chance of missing a hidden fault that only shows up after the machine is switched on again.
If your plant or workshop needs careful motor cleaning before inspection, rewinding or drive repair, start with proper isolation, the right method and a team that understands the equipment. For enquiries, use the form on the contact page and the Germiston office can assist with the next step.