Mill Motor Trouble After Moisture Exposure
The motor came out of a Vereeniging milling operation where humidity, dust and regular washdown had all taken their toll. The fault was first noticed as unstable starting and repeated protection trips, then the winding tests showed insulation values had dropped well below what the maintenance team were comfortable with. In plain terms, the motor was still turning but it was no longer healthy enough to trust in daily production.
The brief was straightforward: remove the unit, assess the damage, rewind the stator, inspect the bearings and return the machine in a condition that could be signed back into service. The client also needed practical advice on what caused the failure in the first place, because the same conditions had damaged more than one machine in the area. We treated it as a plant repair job, not just a bench job.
- Client type: industrial mill in Vereeniging
- Machine type: medium-voltage style industrial motor used on process equipment
- Main faults: insulation deterioration, moisture ingress and bearing wear
- Work scope: removal, rewind, testing, bearing work and recommissioning support
What We Found During Strip Down
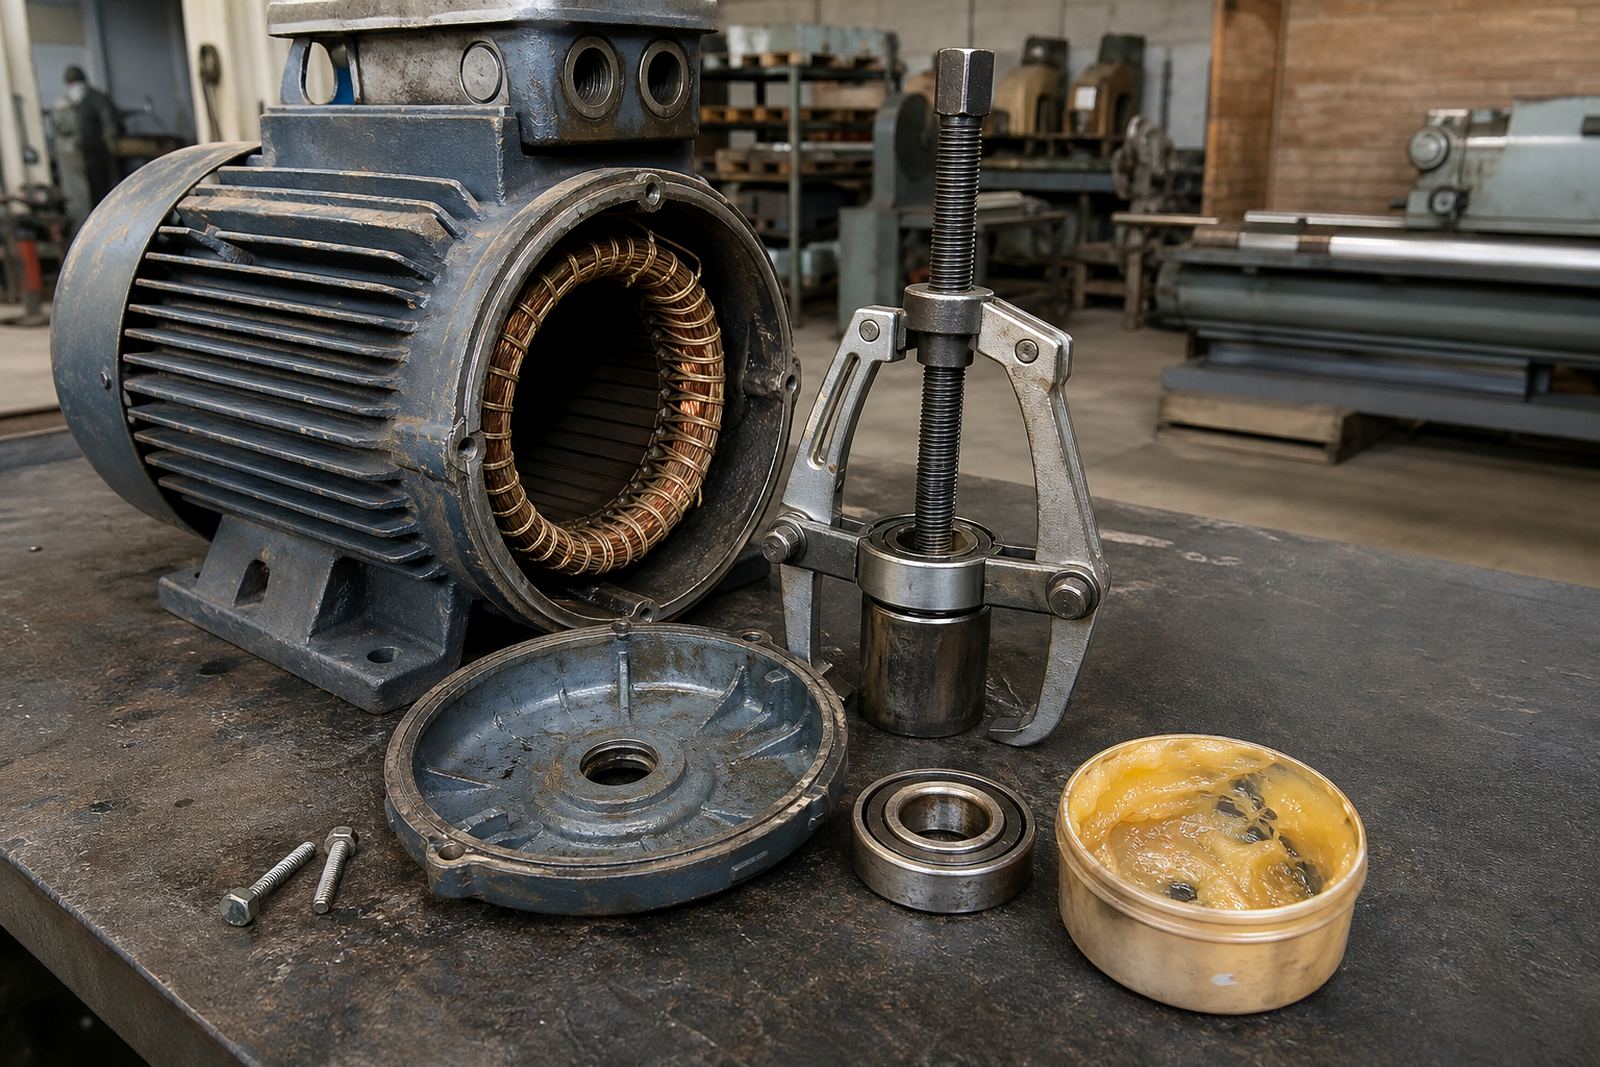
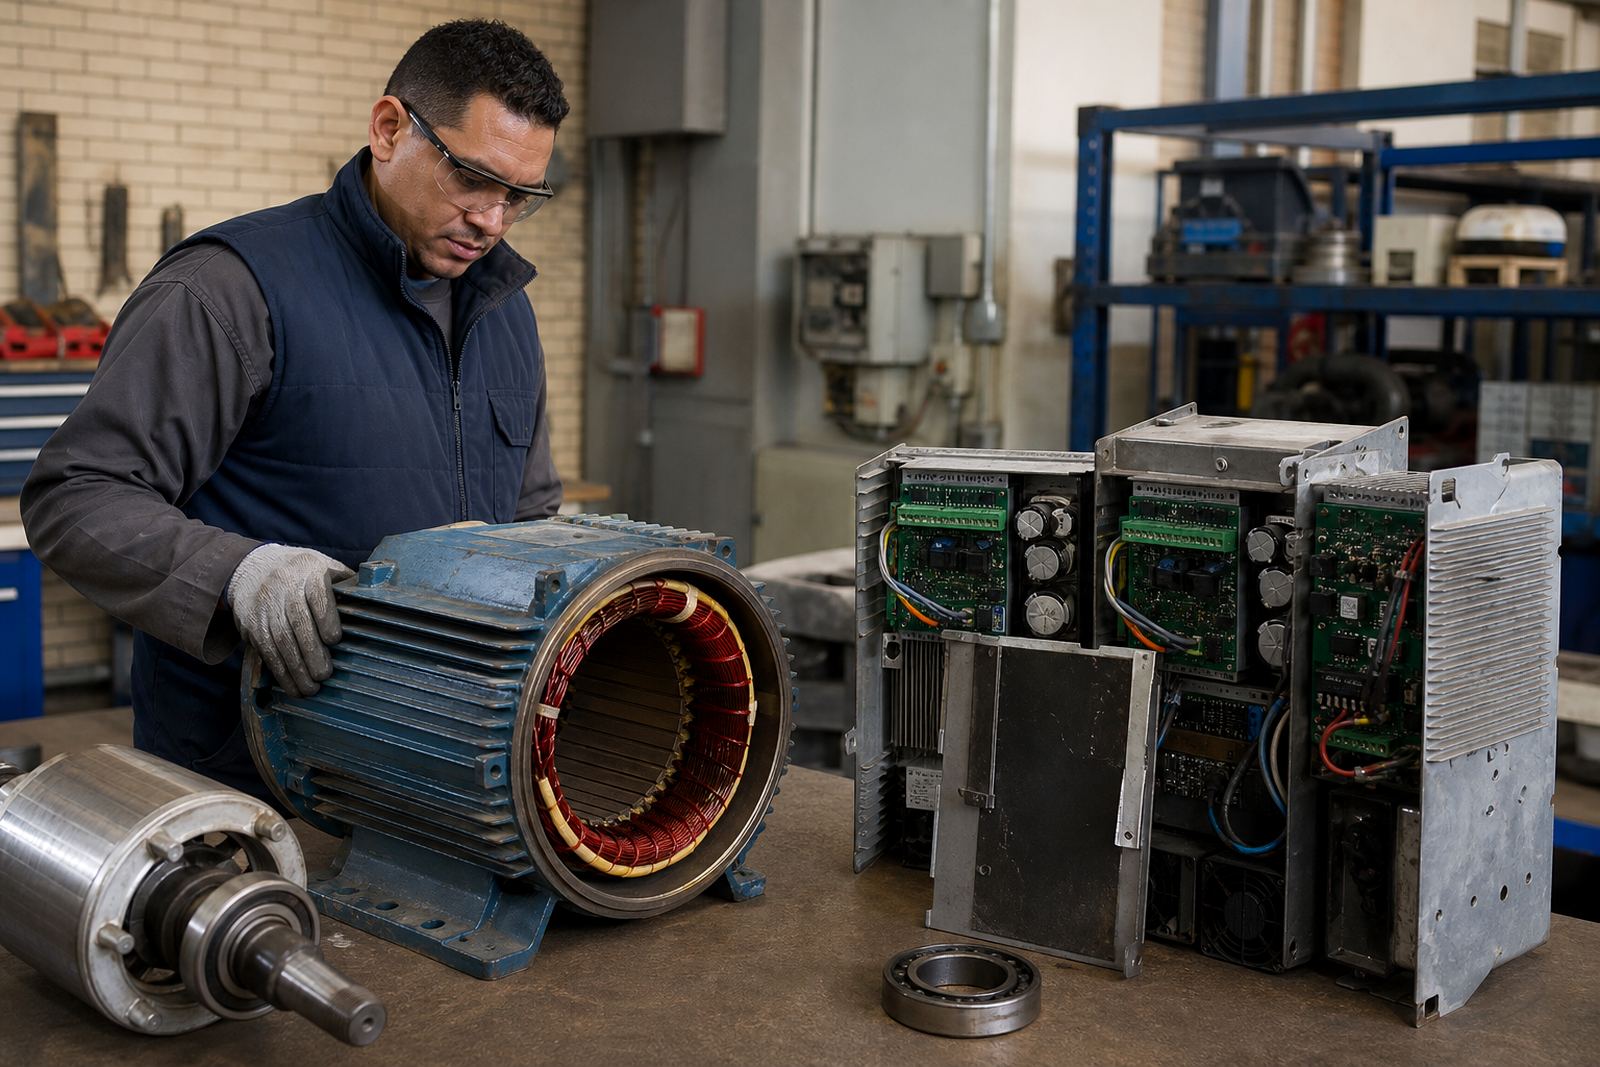
Once the motor was isolated and moved into the workshop, the inspection confirmed what the electrical tests had suggested. The winding insulation had broken down in places and there were signs of contamination inside the frame. Moisture had not only affected the windings, it had also left the bearings with signs of rough running and early corrosion. That combination can make a motor noisy, hot and unpredictable very quickly.
We also checked the terminal area, the shaft condition and the fan end for dirt build-up and wear. A motor like this can sometimes look fine from the outside but still be in poor condition inside. The important part was to document every finding before starting the rewind so the plant had a clear record for its own maintenance files.
- Insulation testing was used to confirm the extent of winding damage
- Bearing checks were done to see whether the roughness came from contamination or wear
- All strip down work was handled with proper lockout and isolation procedures
- Electrical work on equipment like this must only be done by qualified people
Rewind Work And Bearing Replacement
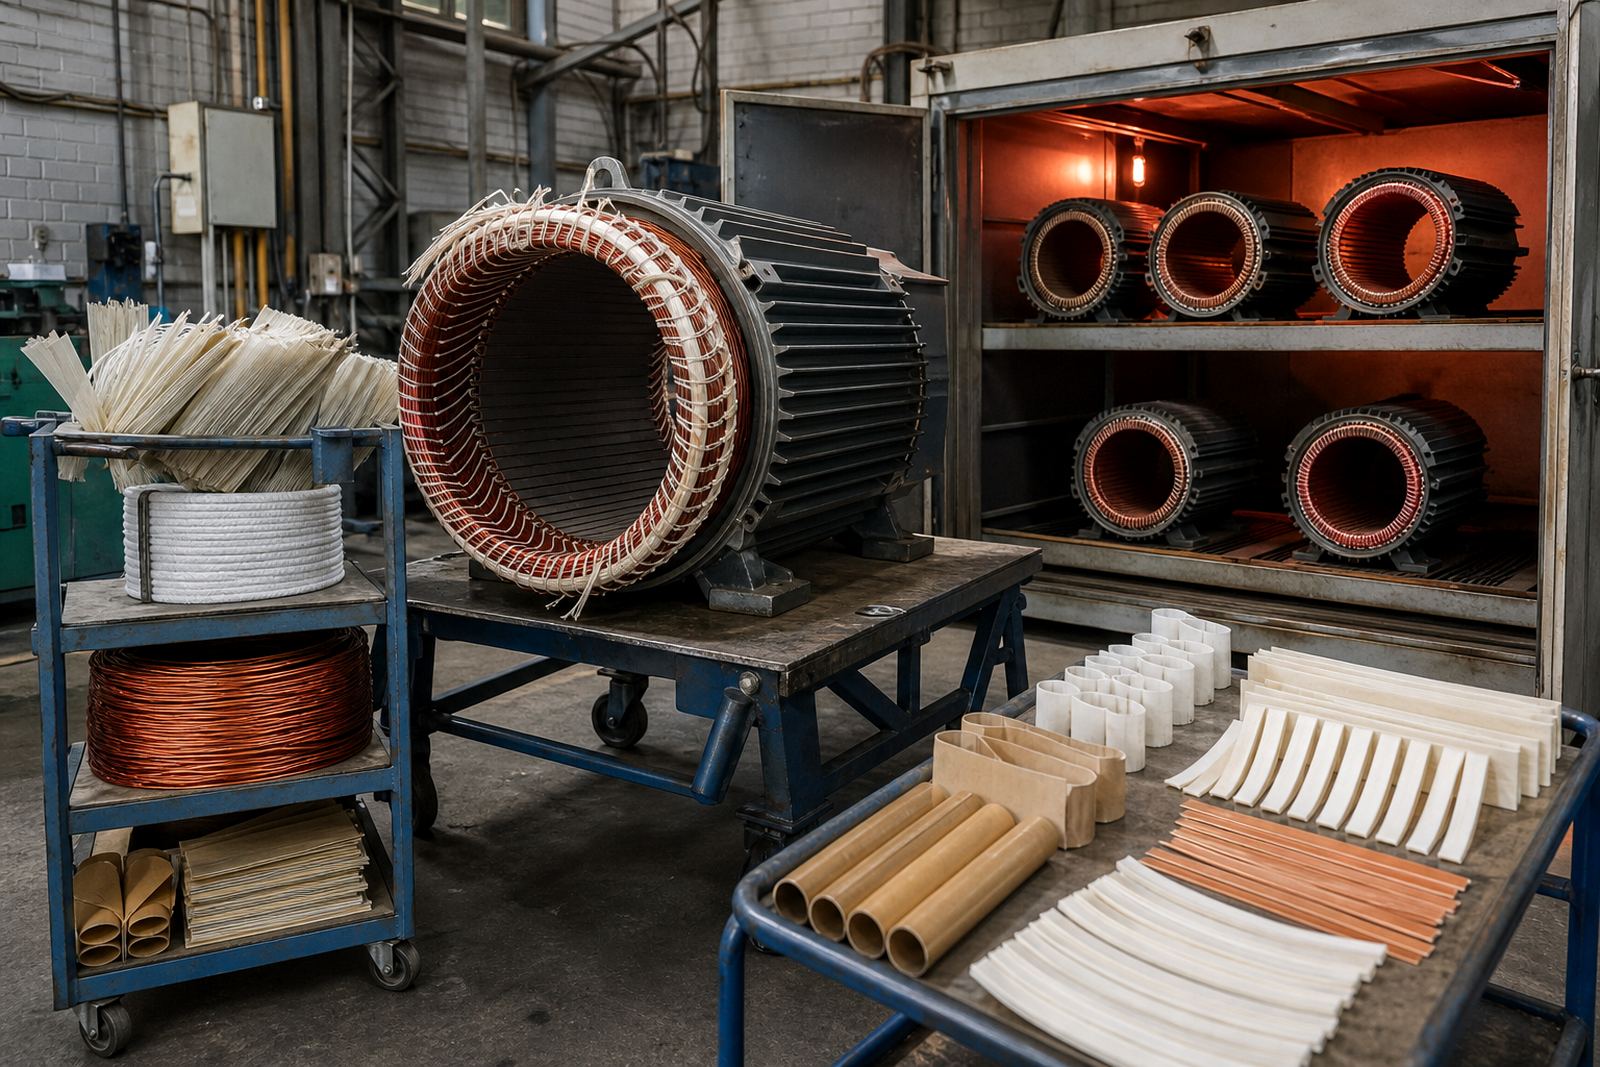
The rewind itself followed the original winding pattern as closely as possible, using established motor repair practice to preserve the machine's operating characteristics. The old winding was removed carefully, the slots were cleaned and prepared, and the replacement winding was installed, tied down and insulated before impregnation and curing. This part of the job needs patience and consistency. A small mistake at this stage can shorten motor life later on.
We replaced the bearings, checked the fits and made sure the rotor turned freely before reassembly. The end covers and seating surfaces were cleaned up, then the motor was rebuilt with attention to alignment and clearances. The goal was not just to make it run, but to make it run evenly under load and hold up in a working plant environment.
- Stator rewound using matching coil layout and insulation practice
- Bearings replaced and housing surfaces cleaned before reassembly
- Rotor and shaft movement checked for smooth rotation
- Terminal area cleaned and prepared for re-connection on site
Testing Before Return To Service
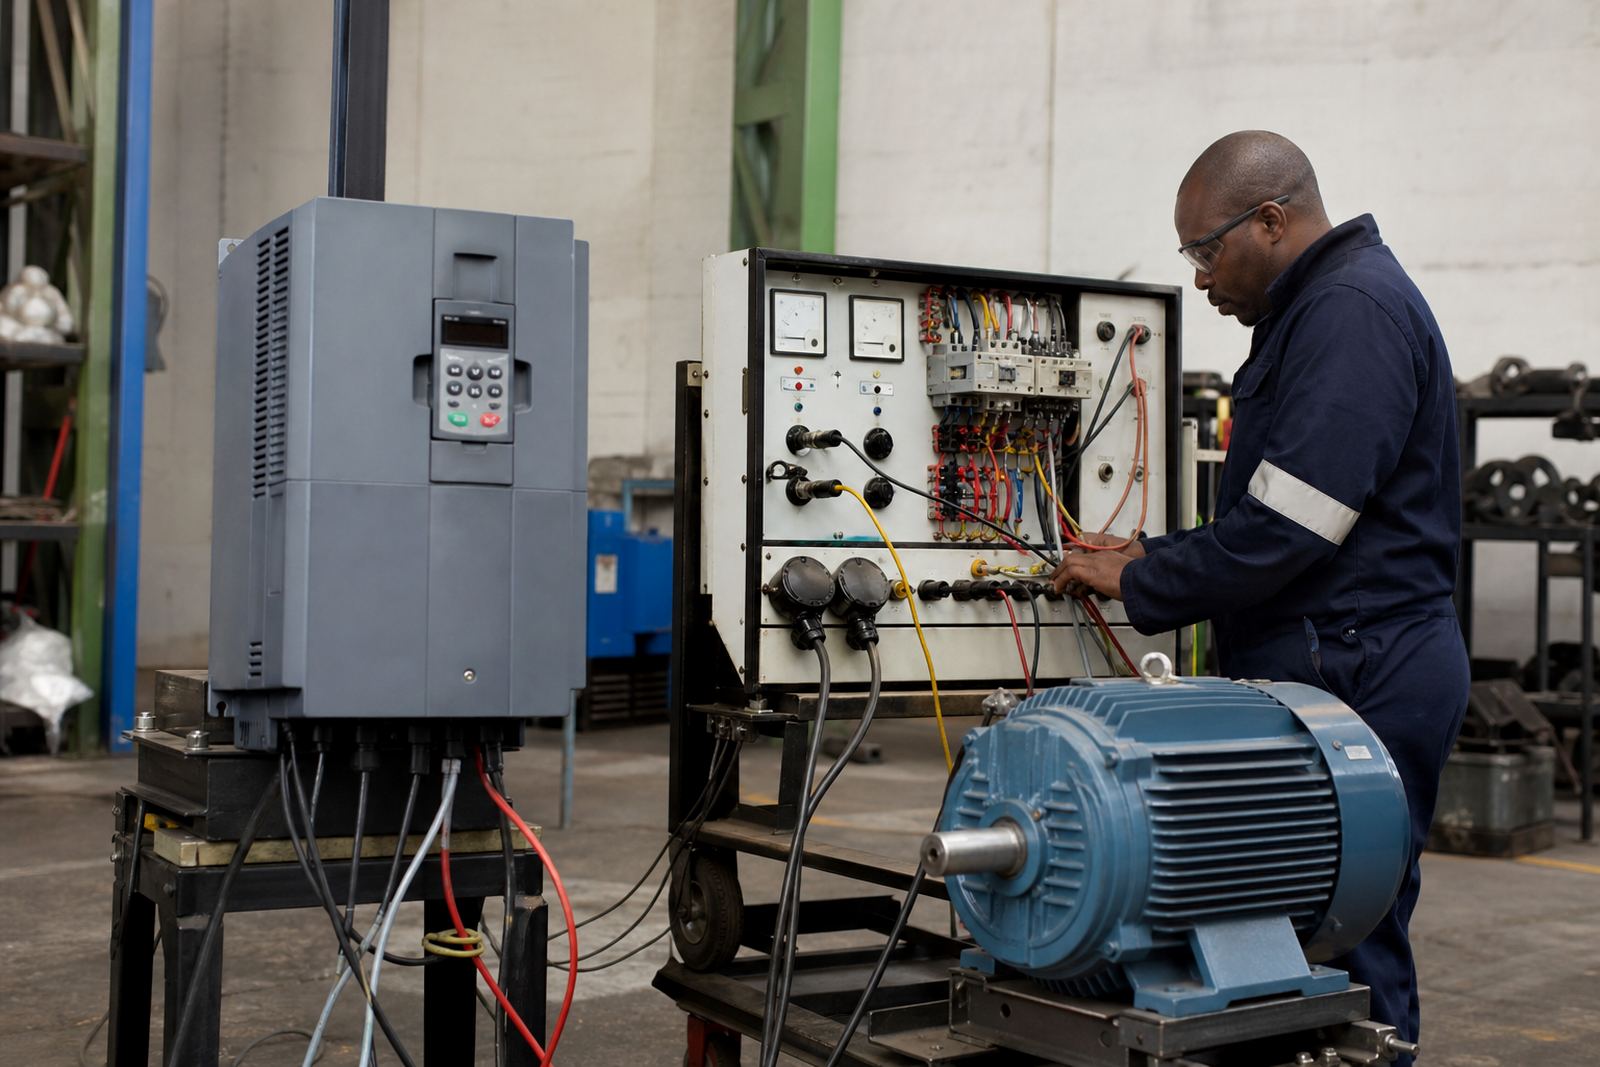
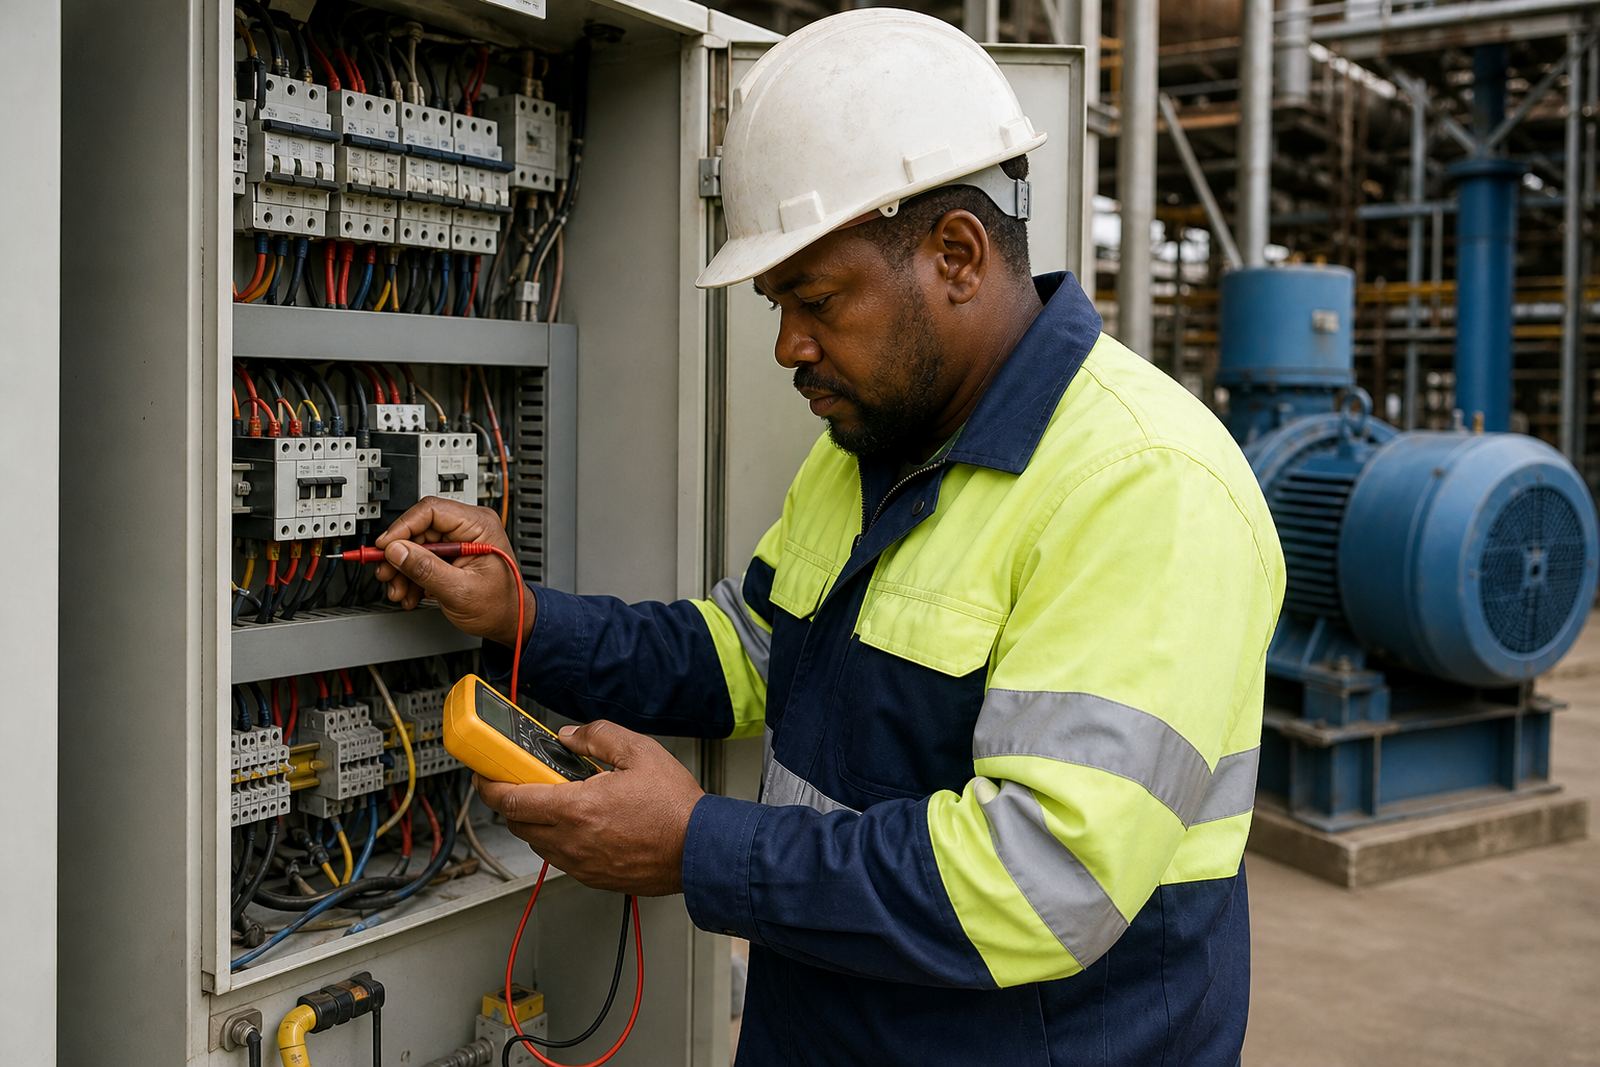
Before the motor went back to site, it went through insulation testing, resistance checks and a final mechanical inspection. We also looked at the expected duty and the operating area because a motor in a mill does not get the same life as one in a clean indoor room. Dust, vibration and moisture all matter, especially where shutdown windows are short and the plant needs to come back on line quickly.
The team also carried out a practical check on the fit-up and mounting points so the installation crew would not waste time on site. The idea is simple: if the workshop catches the obvious issues early, the site re-installation goes more smoothly and there is less chance of a second outage. It saves labour and avoids rushed decisions under pressure.
- Insulation resistance and winding checks completed after cure
- Mechanical inspection completed for shaft, covers and rotating parts
- Pre-site notes prepared for the maintenance team
- Reinstallation guidance given for coupling, alignment and cable checks
Timeline And Coordination Over Two Weeks
The full job took two weeks from collection through to workshop completion and handover preparation. The first stage was the removal and intake assessment, followed by strip down and fault confirmation. After that came the rewind, bearing work, cleaning, curing and testing. The schedule was managed around the client's production pressure, because mills do not enjoy long delays and shutdown planning has to be realistic.
We kept the client updated on each stage so they could plan labour and machine access around the repair. No one likes surprises on a shutdown job. By the time the motor was ready to return, the maintenance team had a clear picture of what had failed, what had been replaced and what to watch for on restart.
- Week 1: removal, inspection and strip down
- Week 1 to 2: rewind, bearing replacement and curing
- Week 2: testing, reporting and handover preparation
- Site coordination included shutdown planning and installation notes
What Changed After The Repair
After the rewind and rebuild, the motor returned to service with stable electrical readings and smoother mechanical running. The plant team had a better understanding of the conditions that caused the failure, especially the effect of moisture and dust in a working mill. That matters, because the best repair is the one that also prevents the next breakdown where possible.
If we were doing the same job again, we would still follow the same sequence: isolate safely, test before touching anything, record what was found, rewind to proper practice and confirm the machine before return to duty. We would also keep pressing the point that electrical work and motor removal should be handled by qualified people using lockout procedures every time. There is no shortcut that makes that part safer.
- Result: motor returned to service after insulation failure repair
- Maintenance value: clearer fault history for the plant records
- Prevention focus: moisture control, cleaning and routine test checks
- Best practice: qualified electrical personnel and formal lockout every time
Key facts
| Project | Vereeniging mill motor rewind |
|---|---|
| Location | Vereeniging, Gauteng |
| Work done | Full stator rewind, bearing replacement, insulation testing and recommissioning support |
| Main fault | Insulation deterioration caused by moisture ingress |
| Timeline | 2 weeks from intake to testing |
| Service scope | Fault finding, motor removal, bearing checks, site reporting and shutdown planning |