
Start With Isolation and Lockout
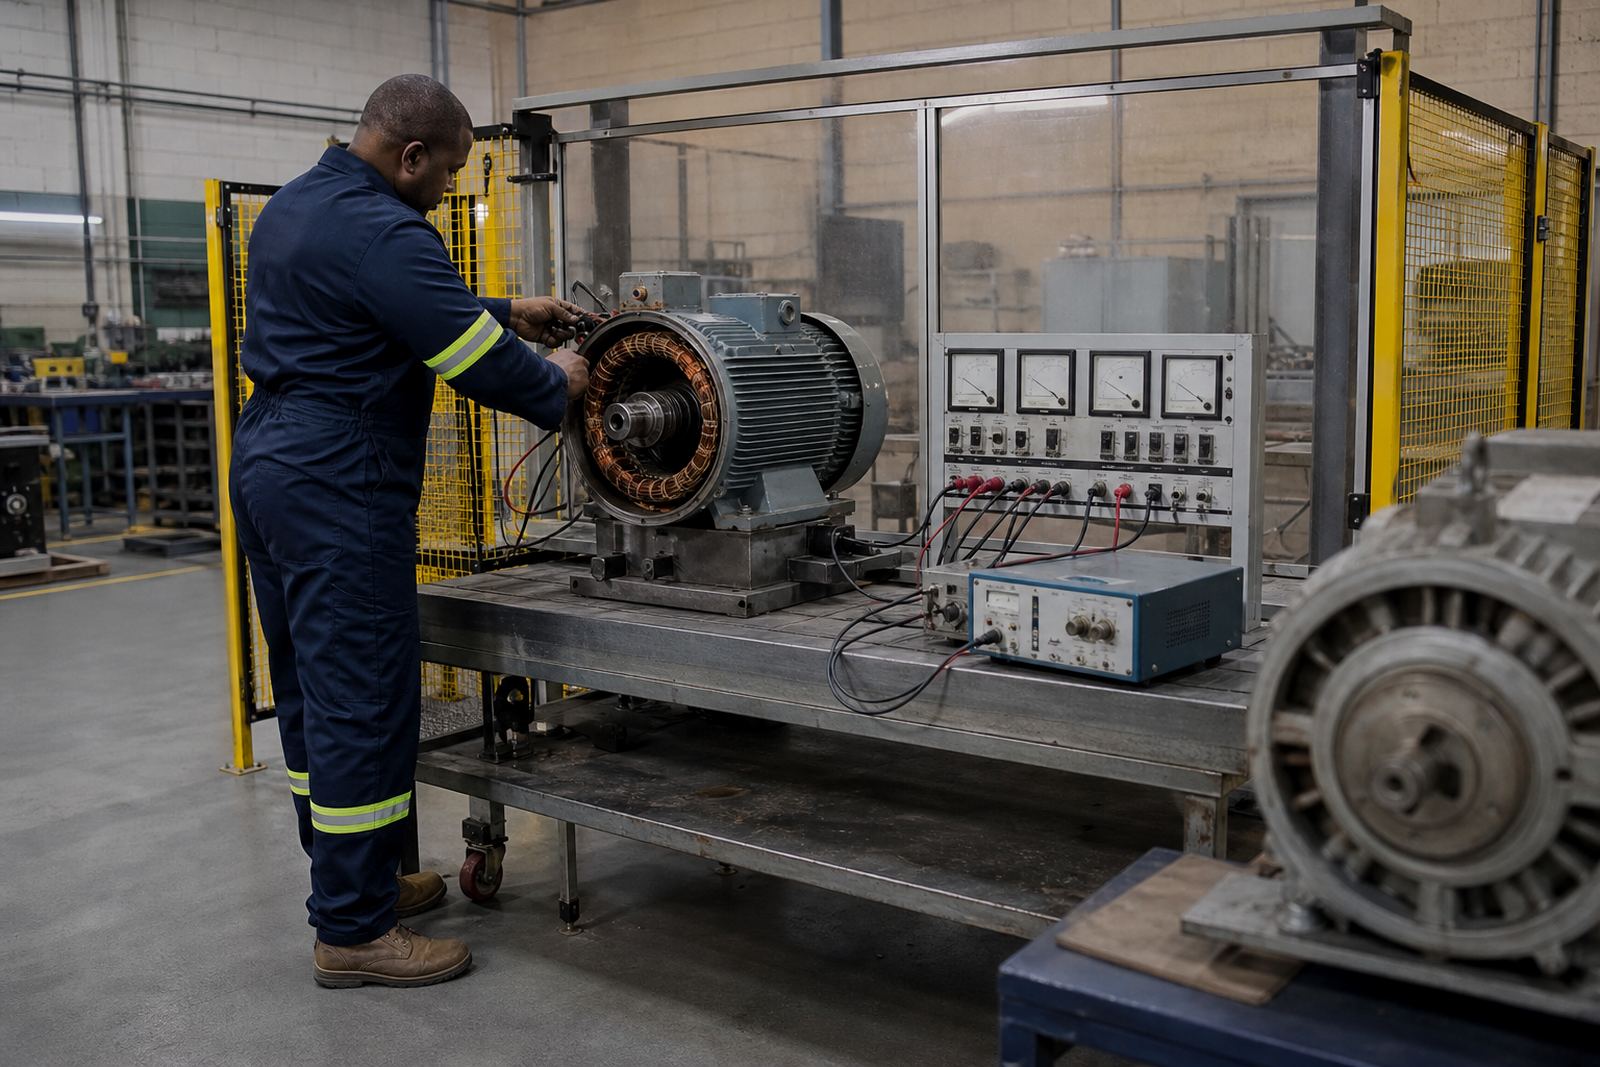
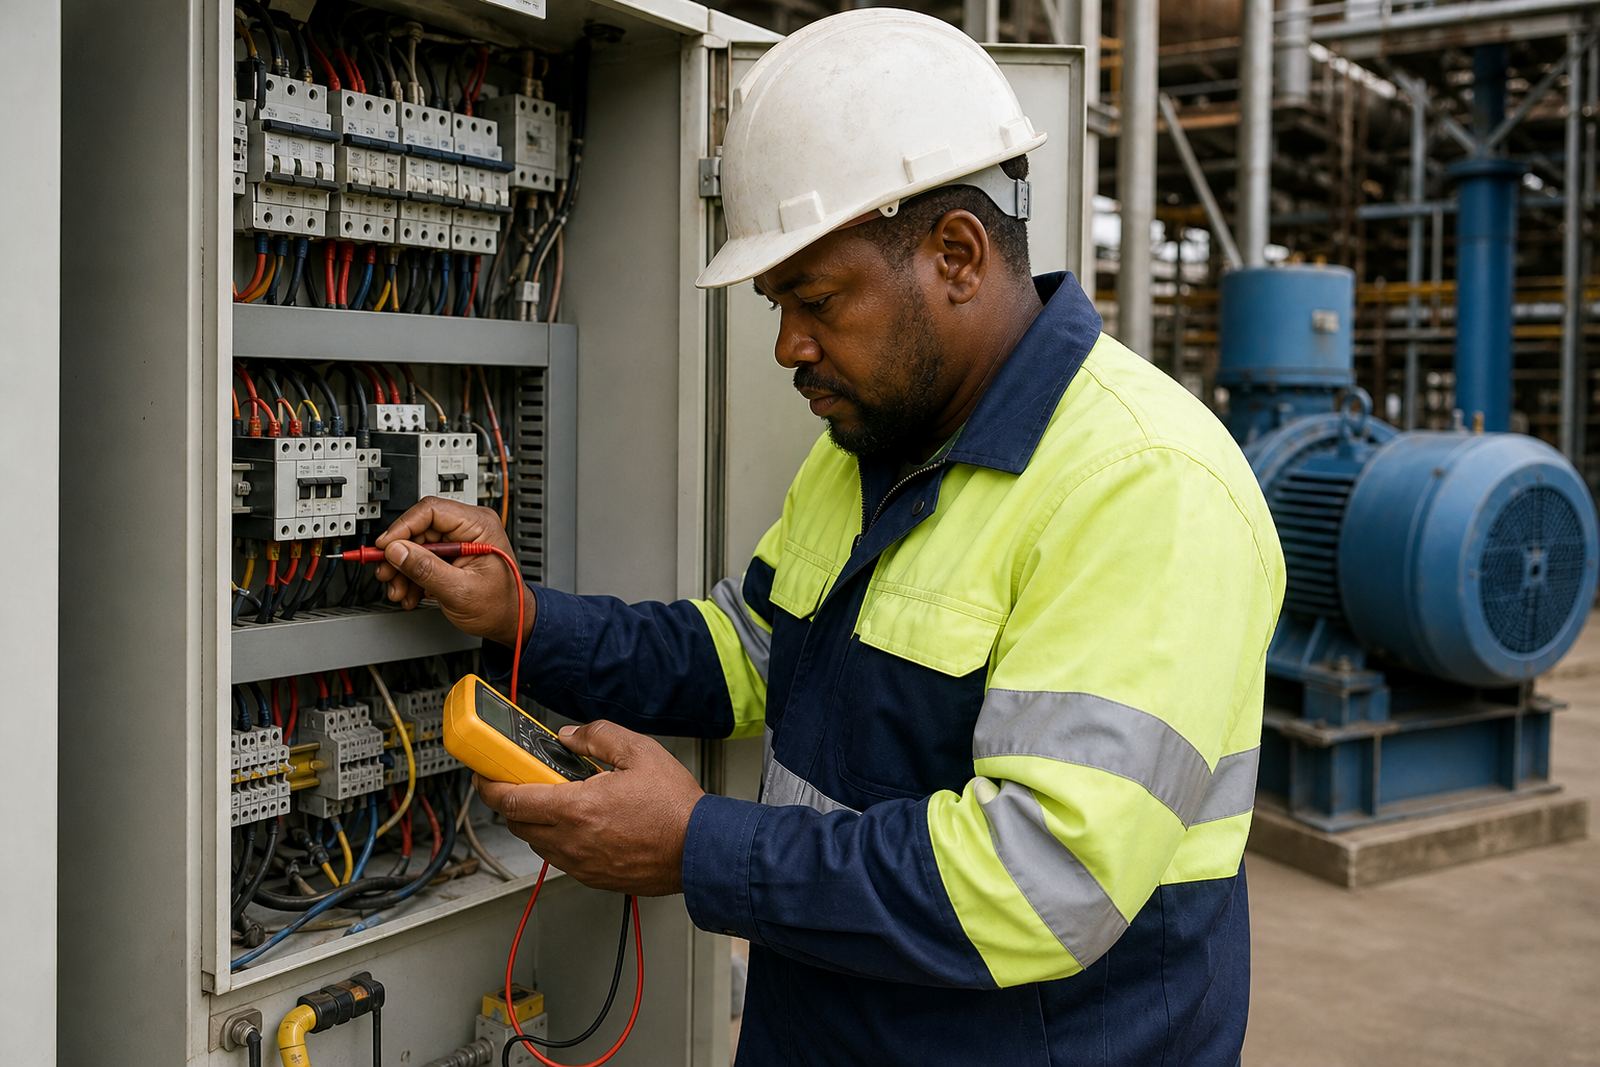
Before anyone touches the motor, make sure the equipment is fully isolated and locked out by qualified electrical personnel. A motor that looks stopped can still be live through backfeed, stored energy in a drive, or another control source, so the lockout procedure must cover the complete circuit from supply to starter or variable speed drive.
Confirm the work permit, machine shutdown and access control for the area. On plants and workshops in Germiston, Johannesburg or Durban, it is common for several teams to share one supply point, so a quick visual check is not enough. Tag the breaker, prove dead with suitable test equipment and keep keys or isolation records under control until the job is complete.
- Identify the correct feeder, isolator and control circuit
- Apply lockout and test for absence of voltage
- Discharge any stored energy in the drive or control panel
- Keep the site supervisor informed before removal starts
Record the Motor Details Before Removal
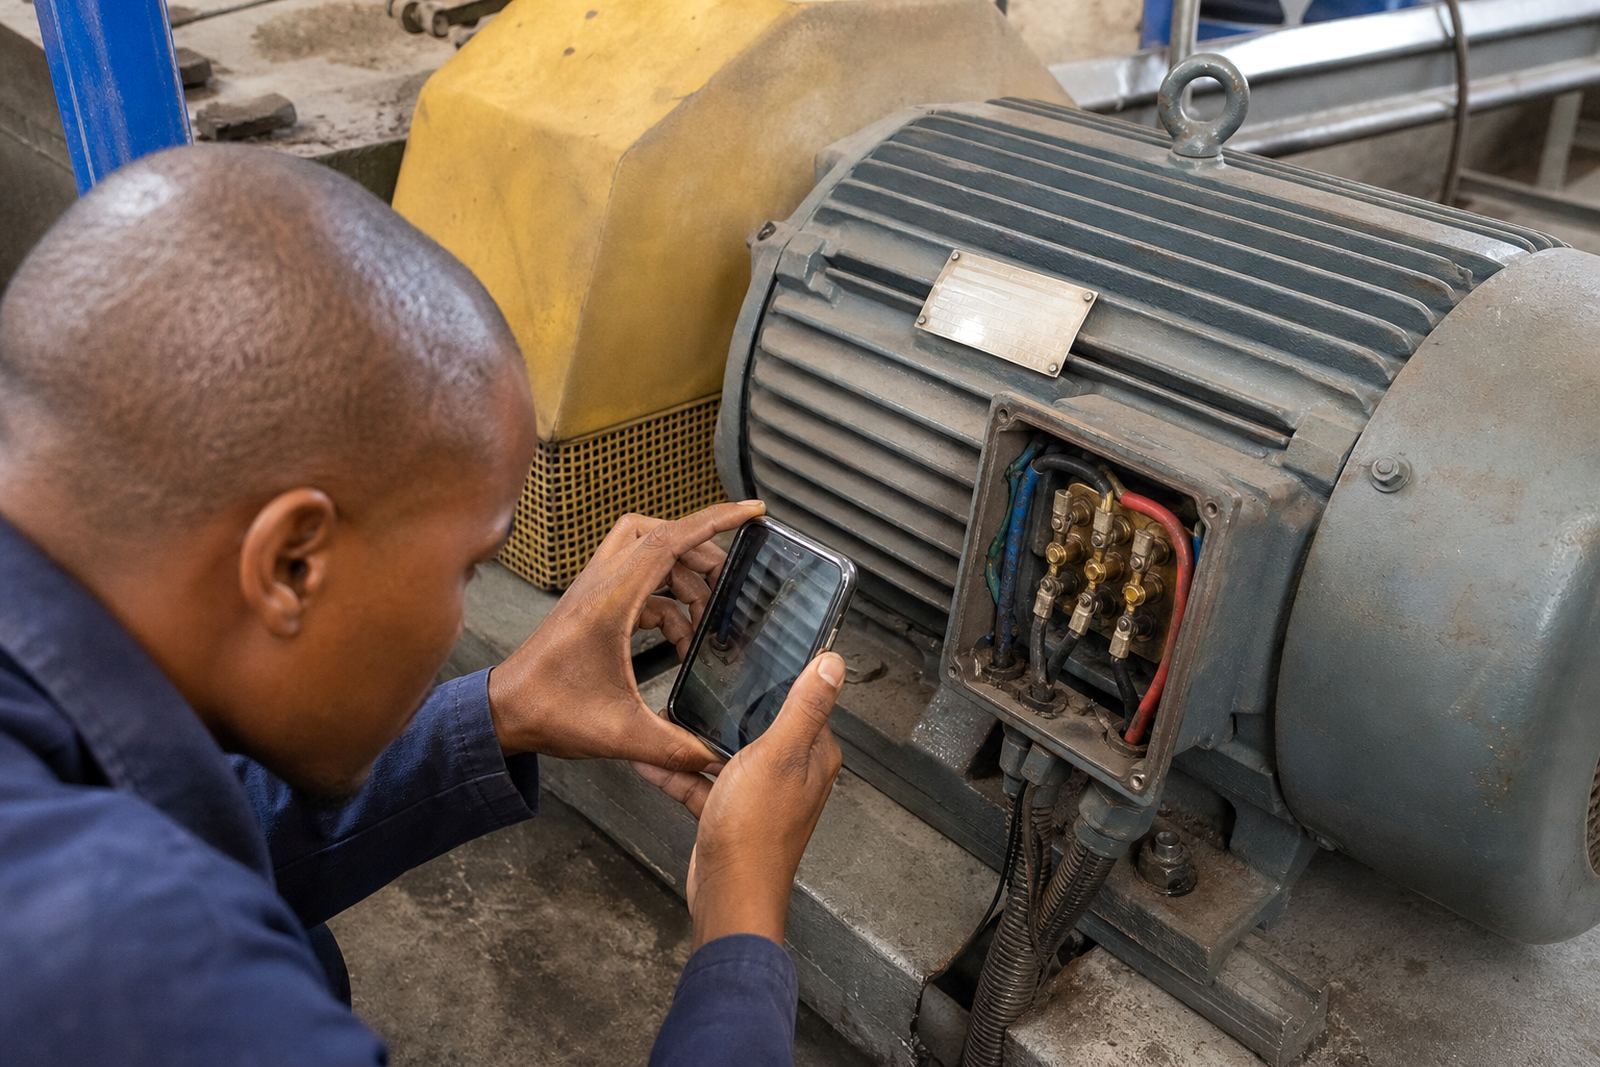
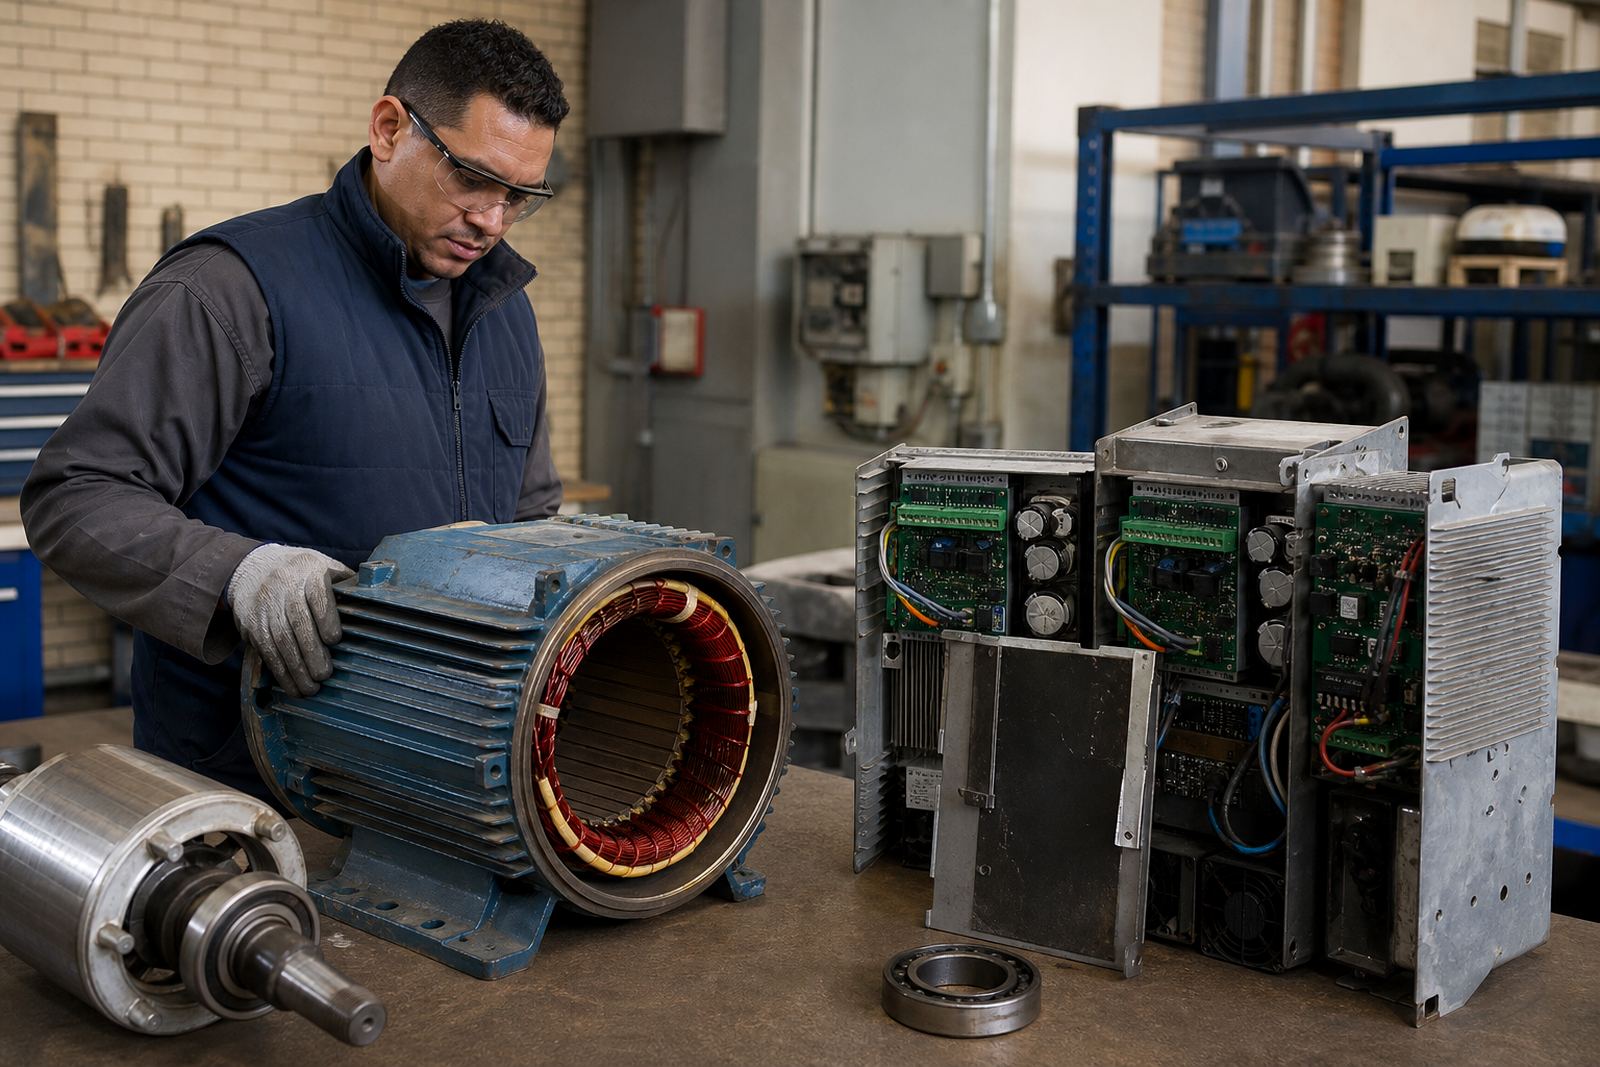
Take clear notes and photos before any bolts are loosened. The workshop needs the nameplate data, coupling details and wiring arrangement so the unit can be matched correctly during inspection and rewinding. If the plate is faded or missing, capture every visible marking and measure the frame where possible.
This is also the right time to note the operating conditions. A motor that runs in a dusty warehouse, a washdown area or a coastal environment near Durban may show different wear patterns than a unit in a dry workshop. If the machine has had repeated trips during load-shedding changeovers or voltage dips, mention that too.
- Photograph the nameplate, terminal box and mounting feet
- Record kilowatt rating, speed, voltage and phase details
- Note bearing sizes, coupling type and fan cover condition
- Mark the direction of rotation and cable entry points
Check the Machine Side Before You Disconnect
Before the motor comes off the machine, inspect the surrounding equipment so the reinstallation plan is clear. Look at the coupling, pulley, belt guard, baseplate, shims and any flexible connections. If the motor drives a pump, fan or conveyor, check for signs of misalignment, soft foot or unusual vibration that may have contributed to the fault.
It helps to clean the area first. Dust, grease and loose cable ties can hide cracked brackets, worn keys or damaged conduit. On sites with limited shutdown windows, a few minutes spent documenting the setup can save a second visit later. This is especially useful where access is tight and the motor must be lifted past pipework, cable trays or other plant.
- Inspect the coupling or pulley for wear and looseness
- Check base bolts, shims and mount condition
- Look for leaks, heat marks or vibration damage nearby
- Measure and note any unusual shaft movement
Protect the Wiring and Terminal Box
When cables are disconnected, label each conductor clearly and keep the terminal hardware together in a sealed bag. A photo of the connections is useful, but it is not enough on its own if the job is delayed. Mark the supply side, earth conductor and any auxiliary leads so the wiring can be restored correctly after repair.
Clean the terminal box if it is full of carbon dust, oil mist or corrosion, then inspect the gland area and seals. In coastal humidity or in older buildings with poor sealing, moisture can track into the box and damage insulation. If the insulation looks heat-stressed or brittle, do not force the cable out, rather let the qualified team assess it properly.
- Label every lead before disconnection
- Bag terminals, washers and small fittings together
- Inspect glands, seals and earth continuity points
- Seal open cable ends against dust and moisture
Plan Lifting, Transport and Storage
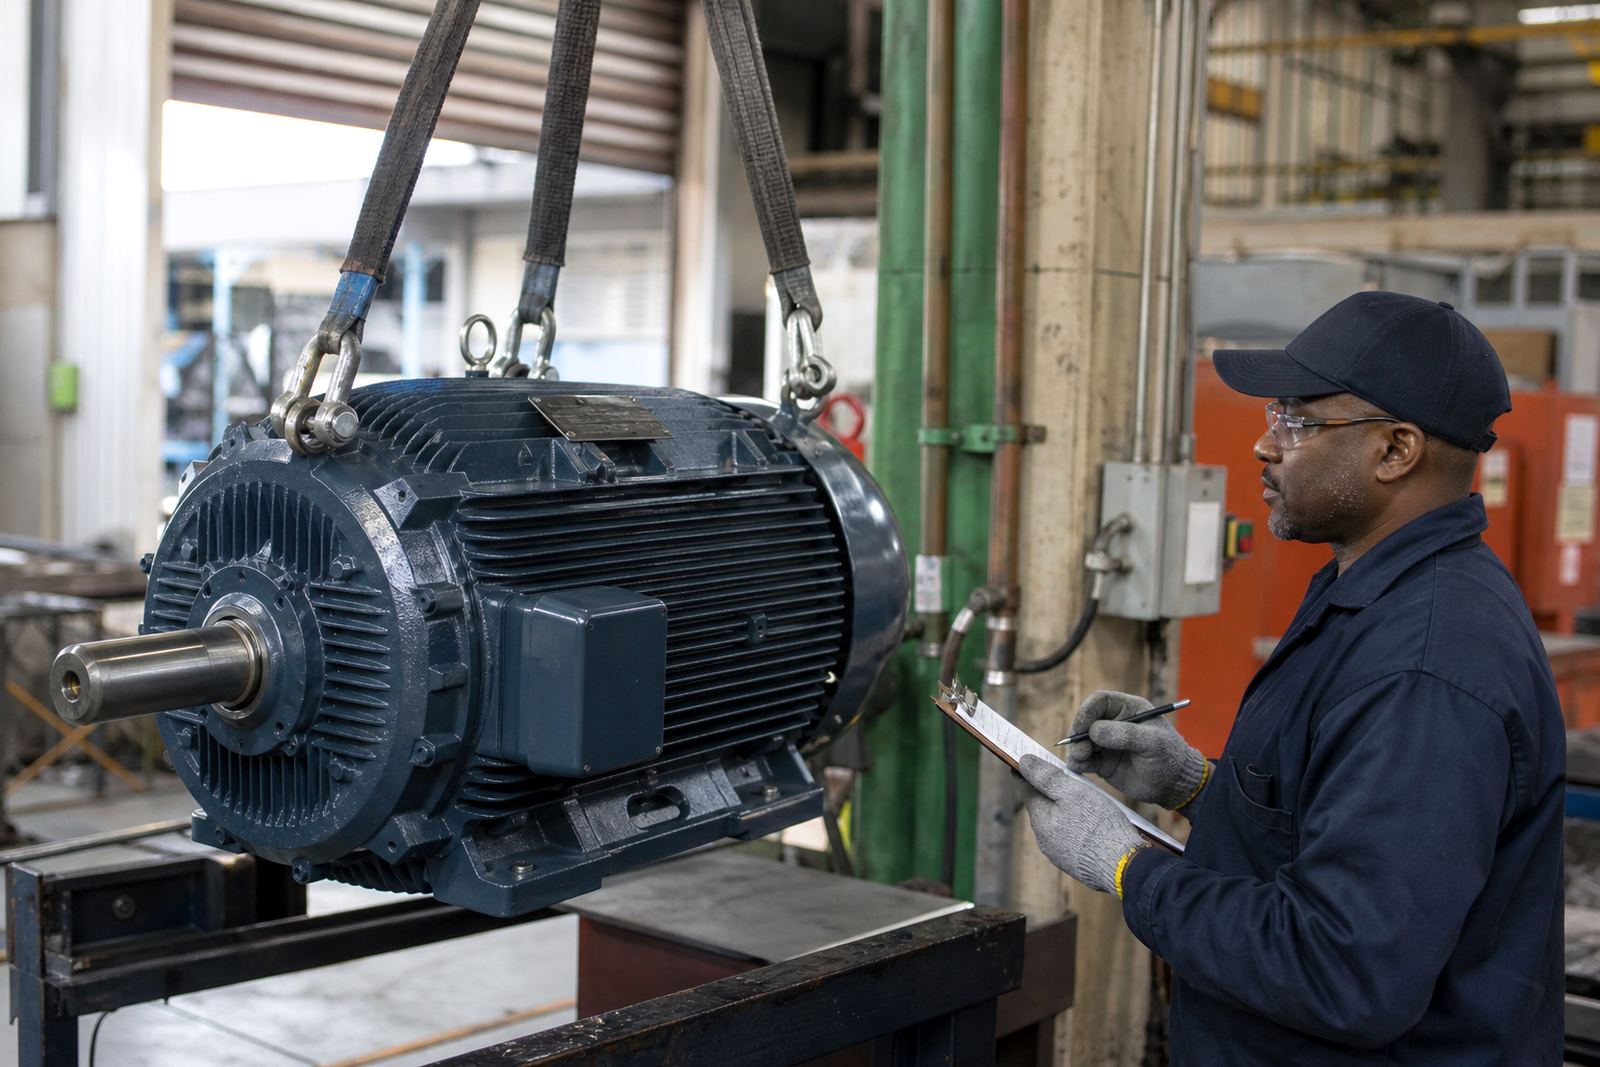
Electric motors are often damaged on the way to the workshop rather than on the machine. Choose lifting points carefully, use a suitable sling or chain and avoid putting stress on the shaft or fan cover. If the unit is large, ask how it will be moved from the installation to the vehicle and from the vehicle into the repair area.
For transport across Gauteng or to Durban, secure the load so it cannot roll, tip or pick up grit. Keep the motor dry and off bare metal if it may stand for a while before assessment. If the job is delayed by shutdown timing or municipal access restrictions, store the unit under cover and protect the open ends from rain and dust.
- Use approved lifting gear sized for the motor weight
- Do not lift by the shaft, terminal box or cable entry
- Secure the unit upright or as specified by the technician
- Keep mounting bolts and loose parts with the motor
Send the Right Fault Information With the Motor
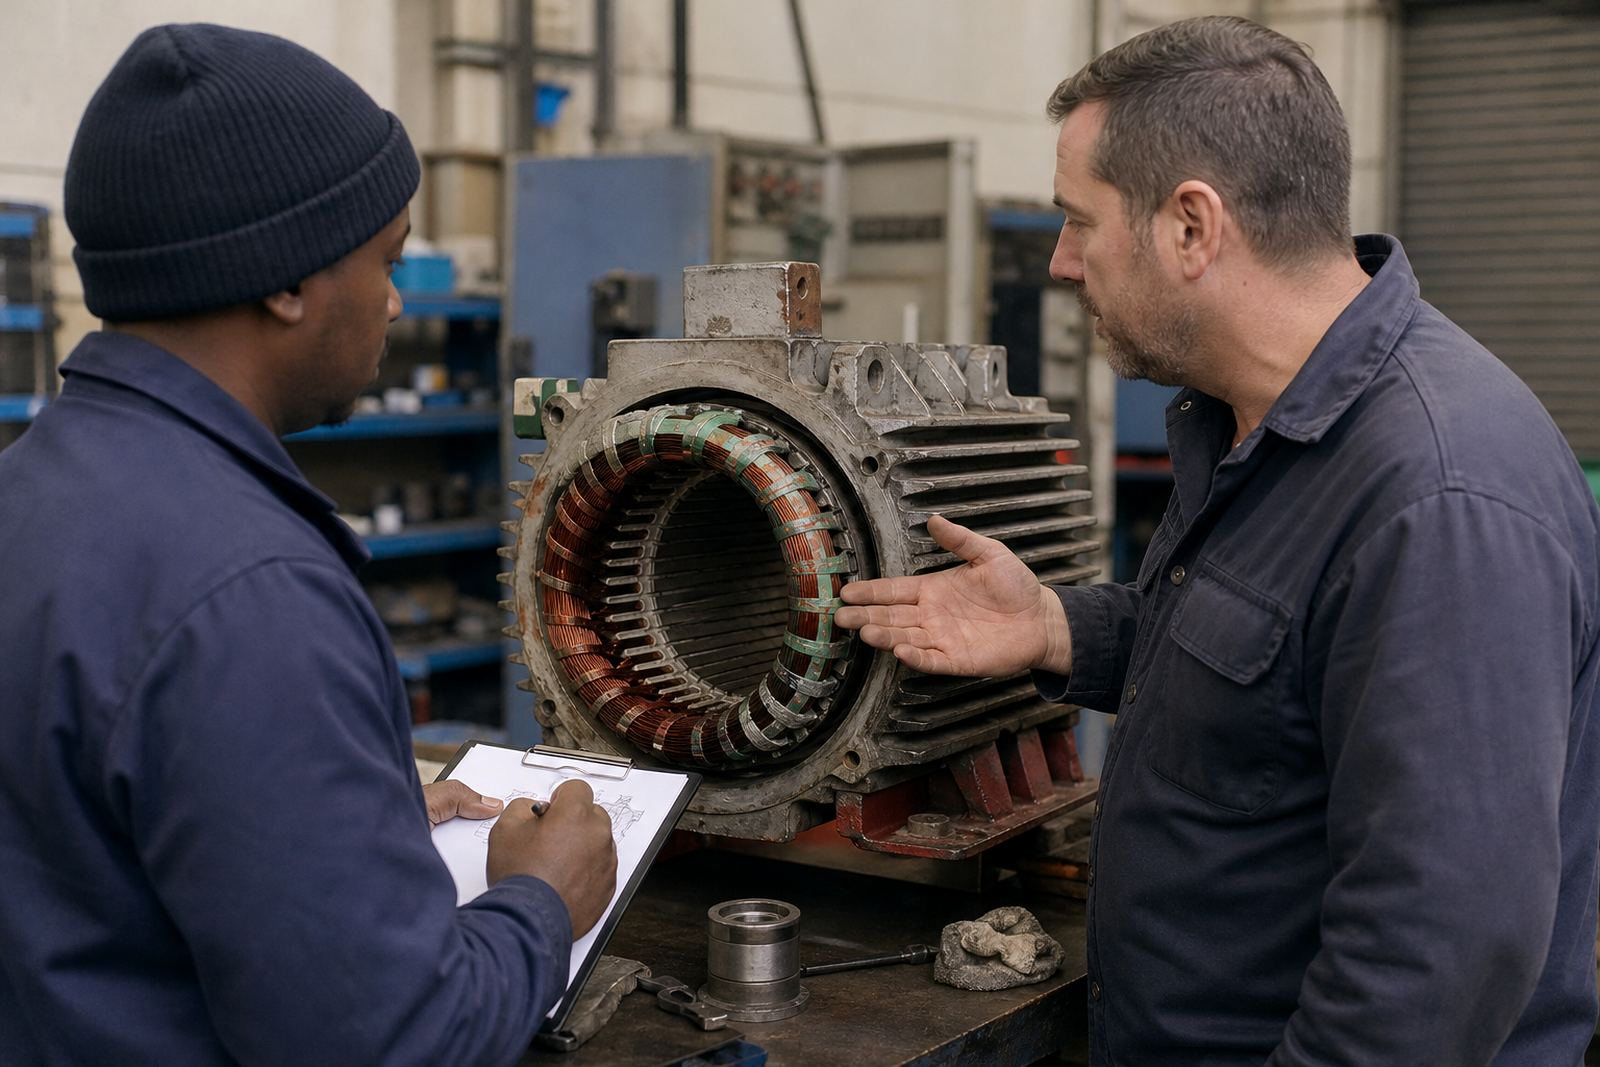
The workshop can only diagnose what it knows, so send a short written fault summary with the motor. Describe what happened before shutdown, whether the motor tripped, overheated, ran noisy or vibrated, and whether the problem started after a maintenance job or power disturbance. If the unit is linked to a variable speed drive, include that detail as well because drive settings or supply issues can affect the symptoms.
Useful notes help with the repair sequence. A motor that failed after bearing noise may need a different inspection path from one that tripped on insulation loss. If the site has spare motors, include whether a replacement unit was fitted temporarily. This avoids confusion later when the original motor returns from rewinding or bearing replacement.
- Describe the fault exactly as seen on site
- Note any smell, smoke, noise or heat before shutdown
- List related equipment such as starters, drives or controllers
- Include any photos of damaged parts or burn marks