When a bearing should be replaced, not just re-greased
A motor bearing is meant to carry load and keep the rotor turning smoothly. When it starts to fail, the signs are often simple to spot: noise, heat, vibration, looseness at the shaft, or grease that looks burnt or contaminated. If the issue has reached that stage, cleaning and regreasing may only buy a little time.
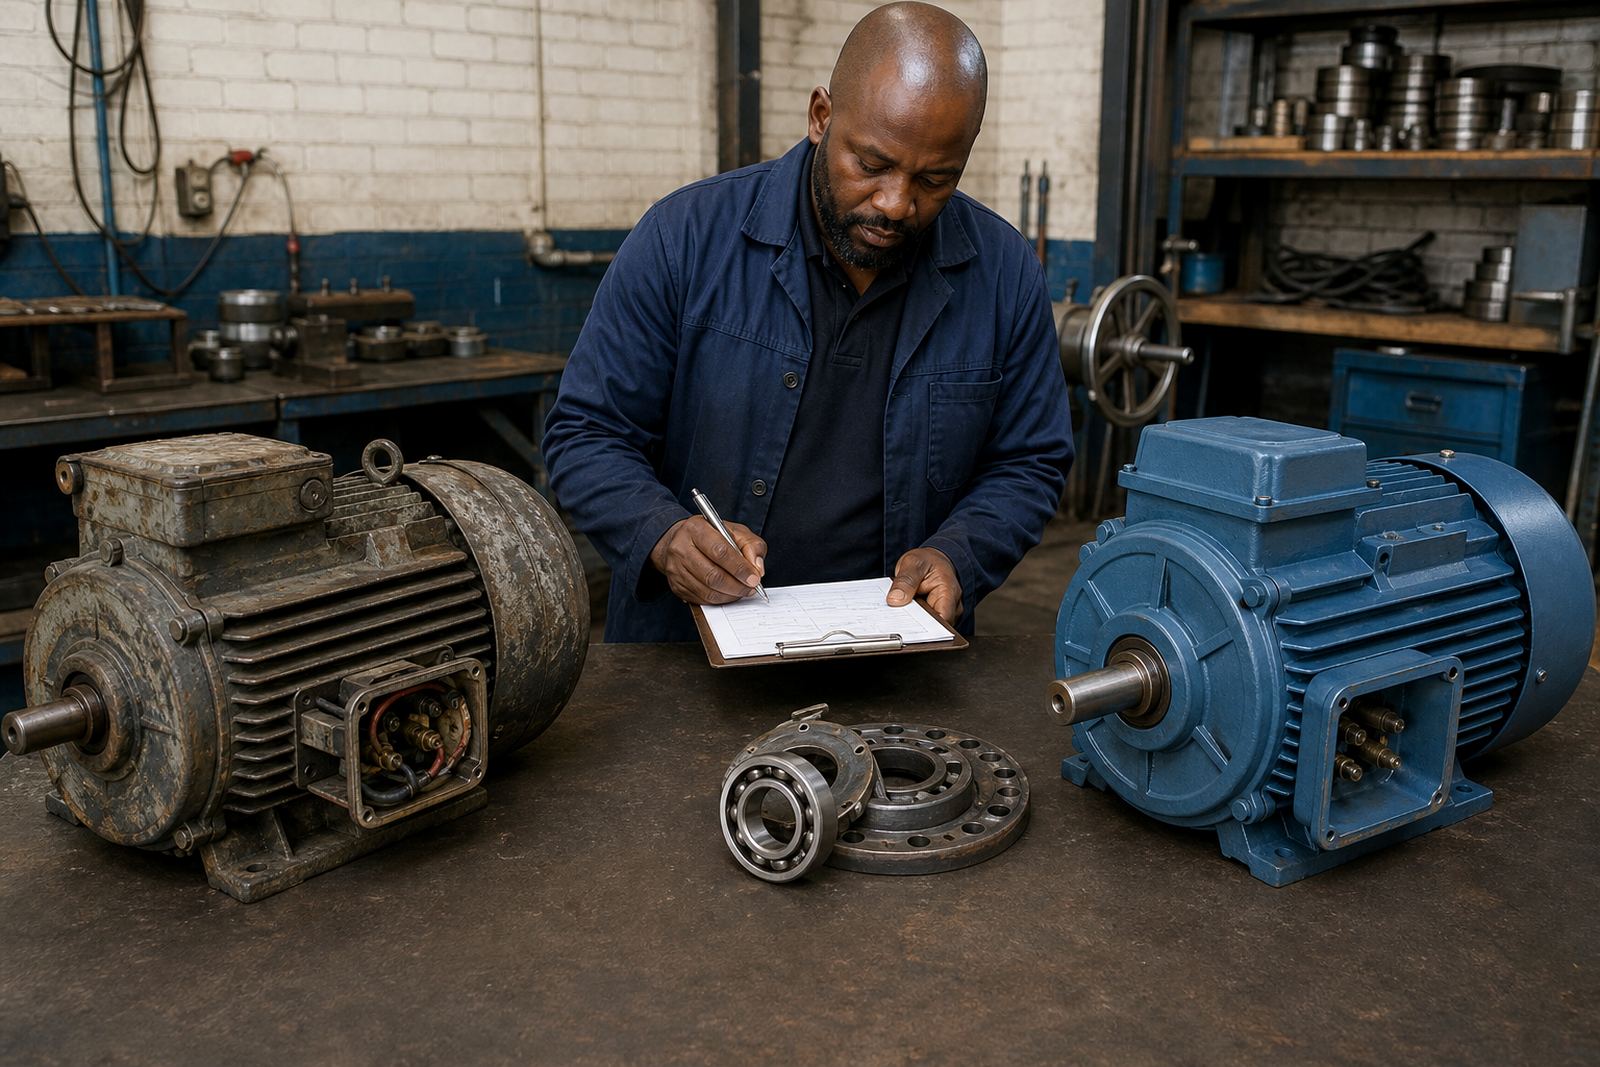
During repair work, bearing replacement is usually considered when the rolling surfaces are pitted, the cage is damaged, or the fit on the shaft or in the end shield is no longer correct. A bearing can also fail early if the motor has had belt over tension, poor alignment, water ingress, dust entry, or repeated starts under load. In coastal areas like Durban, moisture can shorten bearing life if seals are not in good condition.
- Check for shaft play and rough rotation by hand
- Look for blueing, scoring or metal dust around the housing
- Confirm whether the noise comes from the bearing or another rotating part
- Ask whether the motor had overloads, misalignment, or washdown exposure
Safe isolation before any bearing work begins
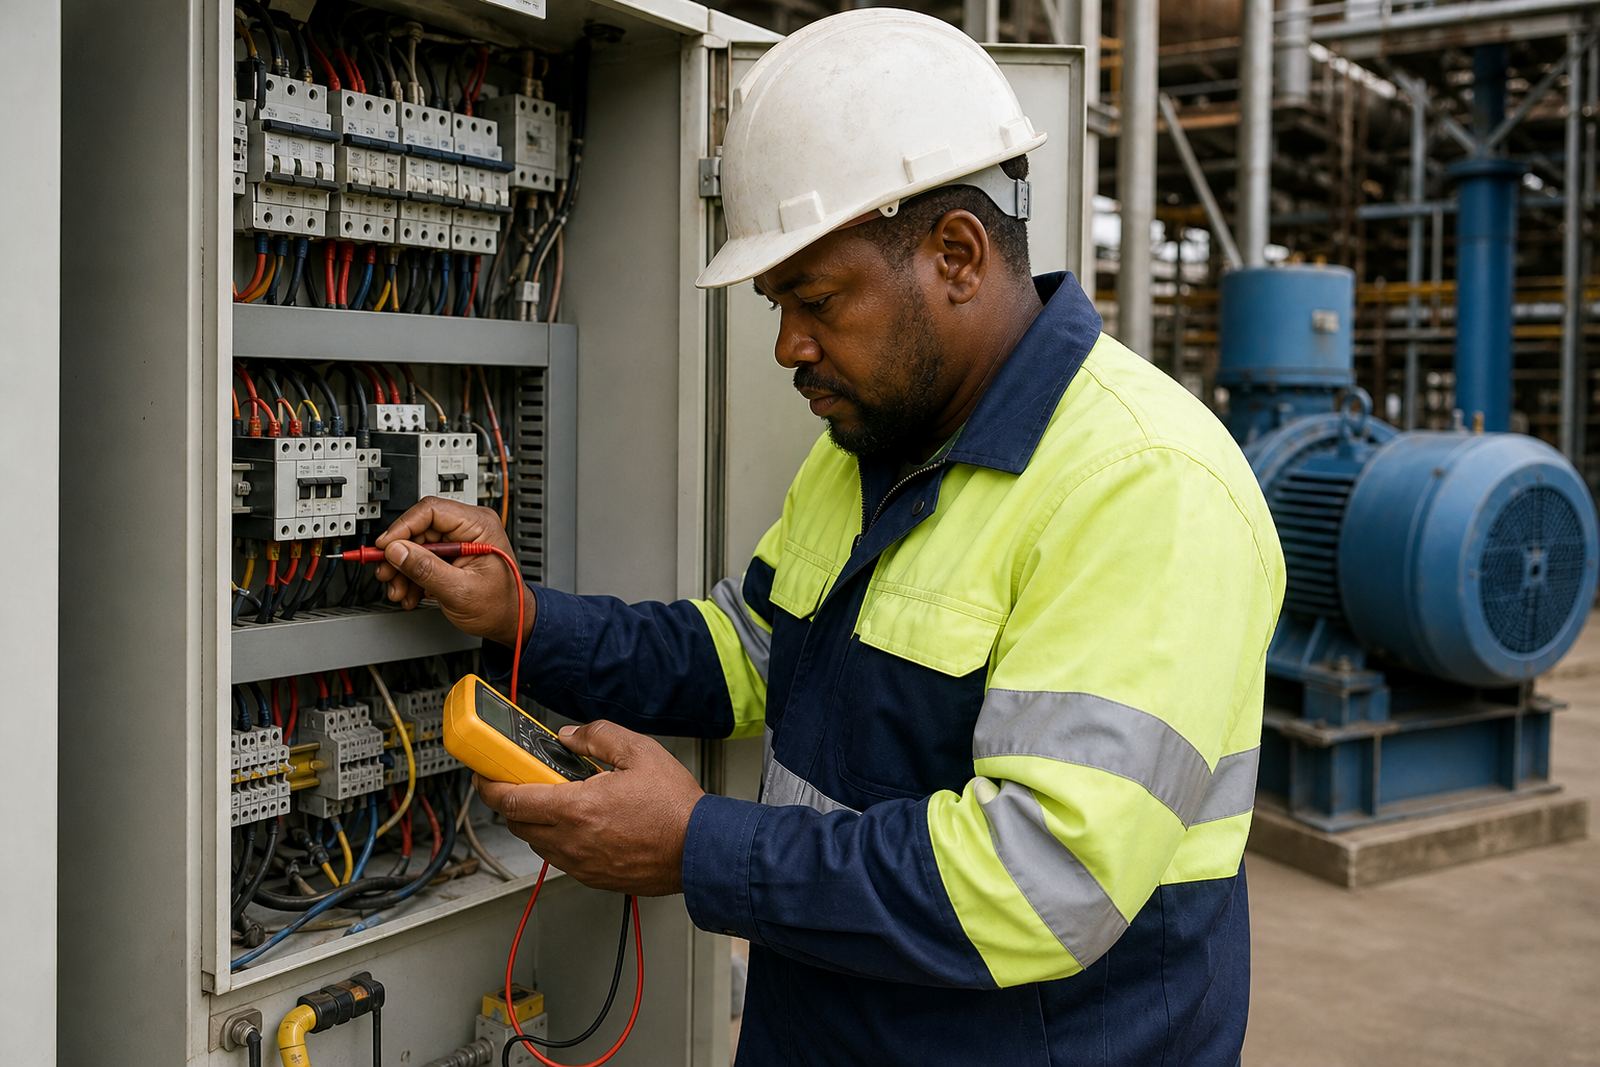
Electrical work must only be done by qualified people, and the motor must be isolated properly before any repair starts. Lockout procedures are not a formality. They prevent accidental starting, backfeed from drives, and injury when a motor is being stripped, tested or reassembled.
On site in Germiston, Johannesburg, Ekurhuleni or Pretoria, the first step is to isolate the machine, lock and tag the supply, and verify dead before touching conductors or terminals. If the motor is coupled to a gearbox, pump or fan, the stored energy in the system also needs to be released. Where variable speed drives are involved, the DC bus can hold charge after switch-off, so the wait time and discharge check must be respected.
- Isolate the supply at the correct point
- Apply lockout and warning tags
- Verify zero voltage before work starts
- Release stored mechanical energy and confirm the load cannot move
What a proper bearing inspection should include
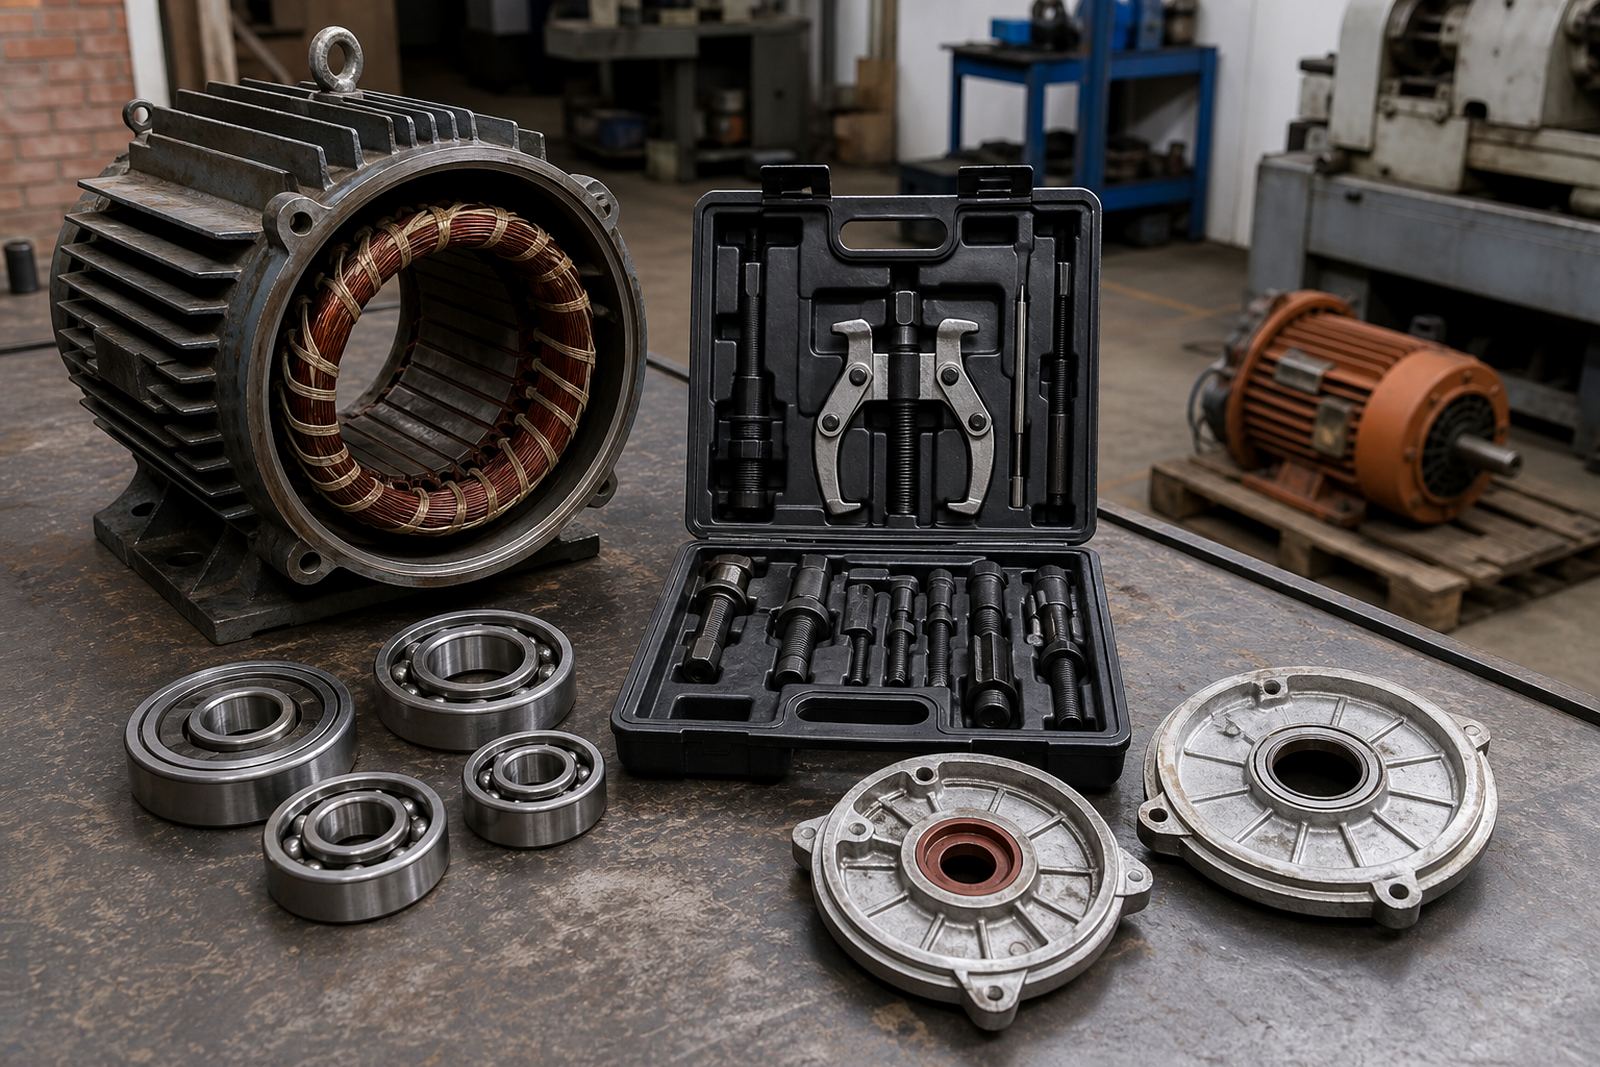
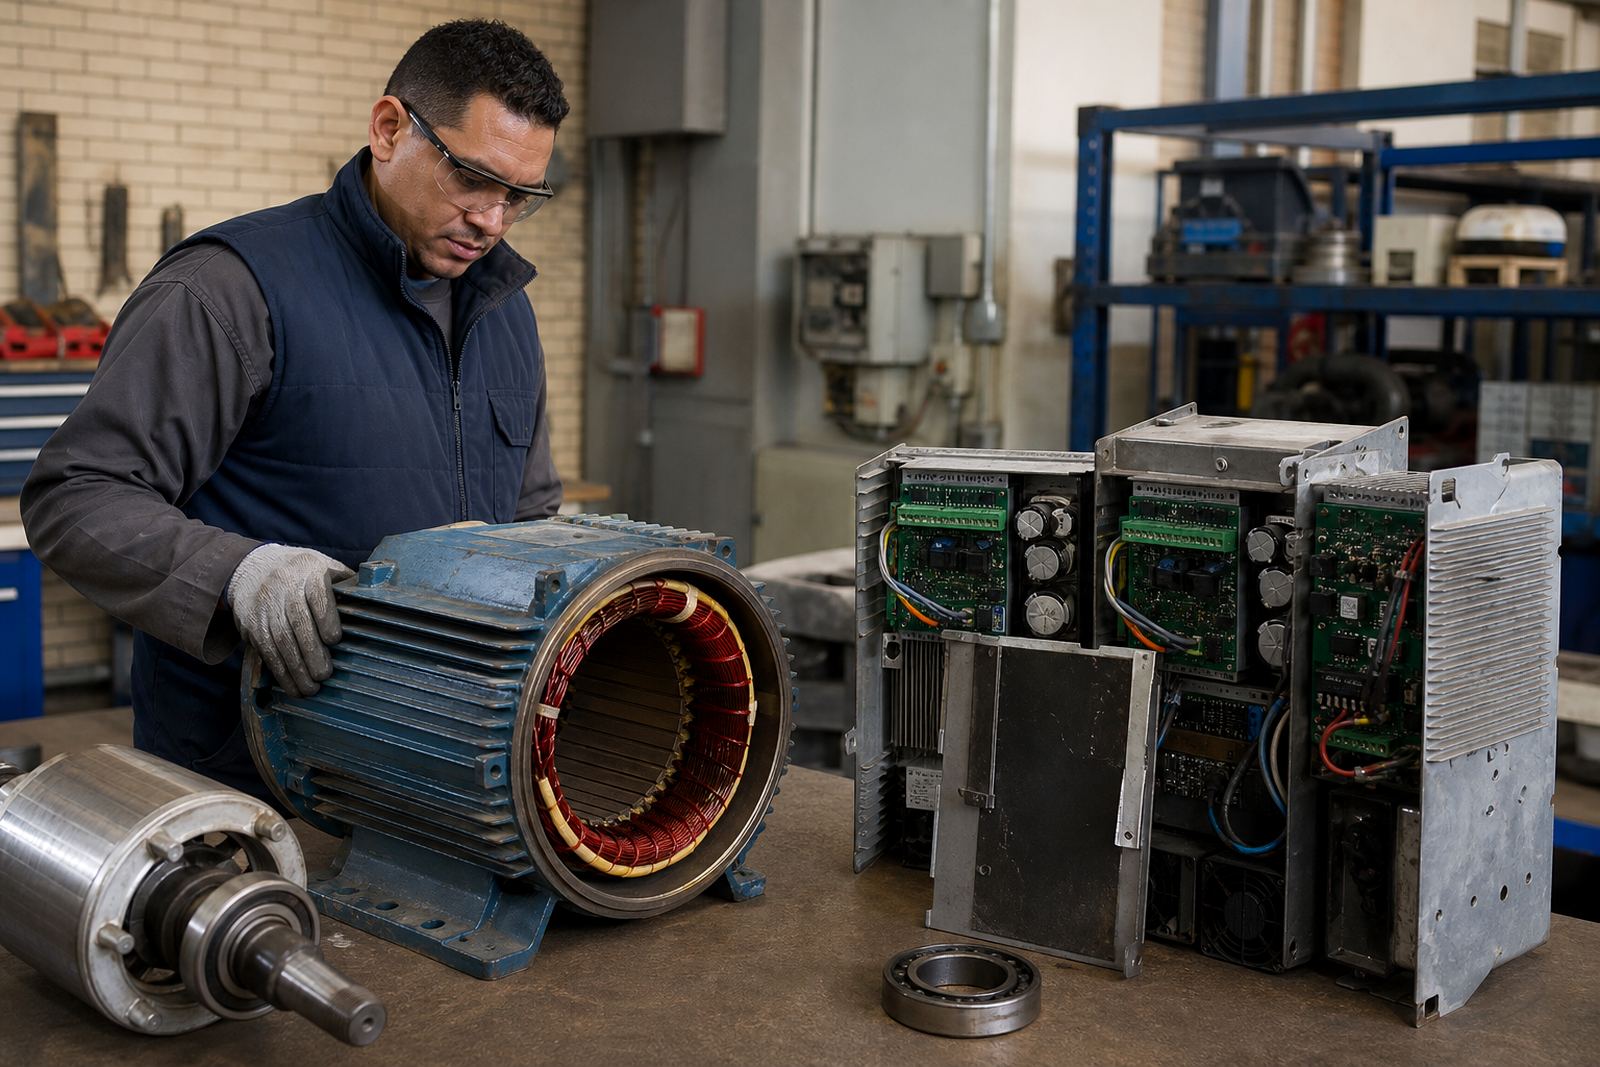
A proper bearing inspection is more than swapping the old part for a new one. The technician should inspect the shaft journal, seating shoulders, end shields and housing for wear or fretting. If the fit is wrong, the new bearing may run hot or fail again soon after commissioning.
It helps to check whether the bearing failed because of electrical damage, contamination, misalignment or lubrication issues. A bearing can show fluting or pitting if stray electrical currents have passed through it, which sometimes happens on motors controlled by drives. In that case the repair may need earthing checks, insulation testing and review of the drive setup as well.
Good inspection practice also includes measuring the old bearing size correctly and confirming the right internal clearance for the application. A motor running on a conveyor in Vereeniging may need different considerations from a light duty fan motor in a workshop in Boksburg.
- Inspect shaft and housing for wear marks
- Check seals, circlips and retaining parts
- Confirm correct bearing size and clearance
- Look for signs of contamination or electrical discharge
Fitment, lubrication and sealing details that matter
Even a quality bearing can fail if it is fitted badly. The force should be applied to the correct ring during installation, and the bearing should never be hammered into place. Wrong handling can bruise the races and shorten service life before the motor even goes back into service.
Lubrication also needs care. Too little grease leads to heat and wear. Too much grease can churn, raise temperature and push past the seals. The correct grease type, fill level and relubrication interval depend on speed, temperature, mounting position and environment. In dusty Gauteng workshops, sealing and cleanliness matter just as much as grease choice. Small particles can work their way into the housing and damage the bearing seat.
After fitting, the motor should be assembled with correct end play, proper alignment and clean cable terminations. Cable checks and panel cleaning are worth doing at the same time because loose connections and dust build-up often show up during the same shutdown period.
- Keep parts clean and dry during assembly
- Use the correct installation method for the bearing type
- Apply the right grease quantity, not extra
- Check end play, alignment and seal condition
Testing after the repair, before the motor returns to service
After bearing replacement, the motor should not go straight back into heavy duty work without checks. Hand rotation should feel smooth and even. The technician should listen for scraping, rubbing or a rough patch through the full turn. If the motor is being repaired as part of a larger shutdown in Durban, Pretoria or Johannesburg, this is the stage where faults are easiest to catch before production restarts.
Insulation testing is part of the review where needed, especially if the motor has had moisture, overheating or drive related stress. A visual check of terminals, leads and earthing should happen first. Then the motor can be trialled and monitored for current draw, vibration and temperature rise. If the machine was removed from service due to a drive fault, the variable speed drive should be inspected separately and not assumed to be the cause of the bearing issue.
Commissioning support can include a short run under no load, then a gradual return to duty while watching for noise, vibration or abnormal heat. If something changes, stop and investigate before the fault grows.
A practical checklist for plant managers and workshop teams
Before you schedule motor repair work, it helps to gather a few details. This makes fault finding faster and avoids repeating the same failure after a rebuild. The more the repair team knows about the site conditions, the better the bearing recommendation will be.
Useful information includes the motor duty, mounting position, speed, recent overloads, any water or dust exposure, and whether the machine runs direct on supply or through a drive. If there was a shutdown, note whether the fault started before or after load shedding, a power dip or a process jam. On site in Ekurhuleni or Kempton Park, that small detail can point to the real cause.
- Motor size, speed and application
- Noise, vibration or heat before failure
- Presence of moisture, dust or chemical exposure
- Recent alignment work, belt changes or overload events
- Whether the motor is drive fed or direct on line
Locor works from Germiston and supports plants and workshops across South Africa with motor removal, bearing checks, insulation testing, drive inspection, shutdown planning and site reporting. For bearing replacement work, the aim is not only to fit a new part, but to restore the motor to safe and practical running condition.